Here is a picture history of the Job. Should have taken more pics. I Did it back in May of '06 and put 25k on it before trading it in for my '08 OR.
These are the parts and prices at the time of the job.
Parts:
Timing Belt Kit from xterraparts.com ($262) Includes:
Timing Belt
2 camshaft seals
1 crankshaft seal
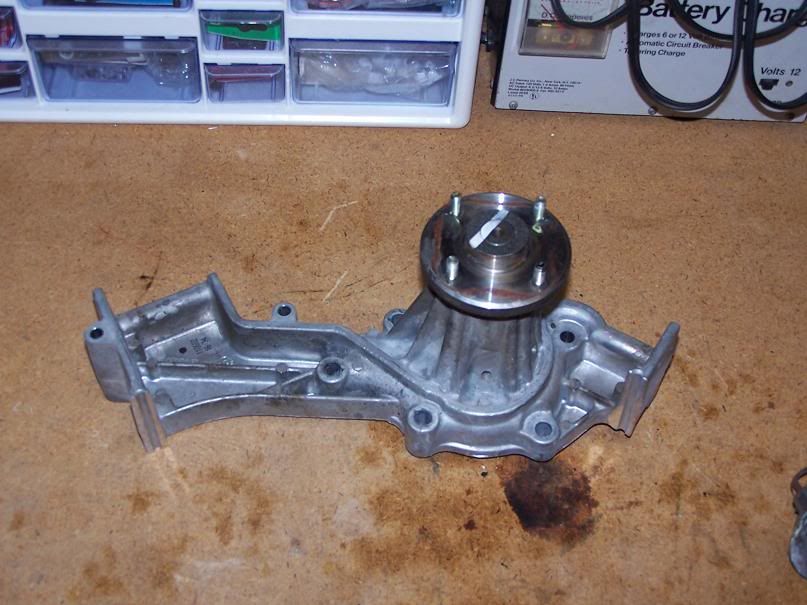
Water pump & gasket
Tensioner, tensioner stud, & tensioner spring
3 drive belts
Thermostat
Tube of Red Silicone gasket sealant (Used on the metal to metal contact on the thermostat housing)
2 gallons of coolant ($15)
1 Tube of permatex form a gasket 2 (Used on the water pump gasket $3 - Use what you prefer here - I didn't use the red silicone gasket sealant here as permatex says that their brand is not designed for use on a solid gasket. I'm assuming the stuff in the Nissan tube was identical but I'm not sure. The old water pump gasket showed no signs of leaking and it used something other than the red silicone and then that was only between the gasket and the block. There was no sealant between the gasket and the water pump. I barely loosened the water pump bolts and the coolant started flowing! I'll keep an eye on this and let you know if the form a gasket 2 was a mistake.)
Total in parts: $280
Major Tools:
Metric Sockets from 8mm - 14mm
Compressor and 1/2" impact wrench
Impact Socket - 27mm for crankshaft pulley
Large Size 3 jaw puller for crankshaft pulley - I used Autozone P/N 27078
Small blade screwdriver for popping out camshaft/crankshaft seals or seal puller
White paint pen for marking the alignment marks
Torque wrench
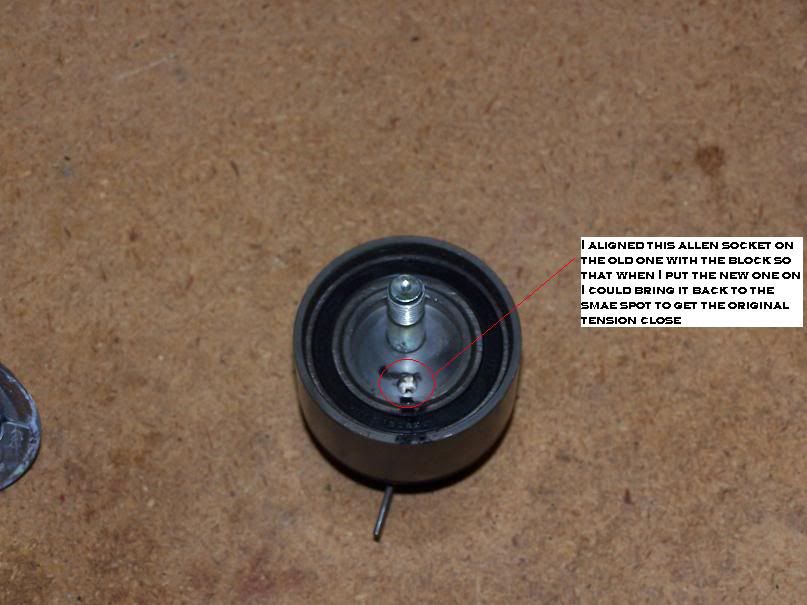
5mm Allen Wrench for Tensioner adjustment
PART 1
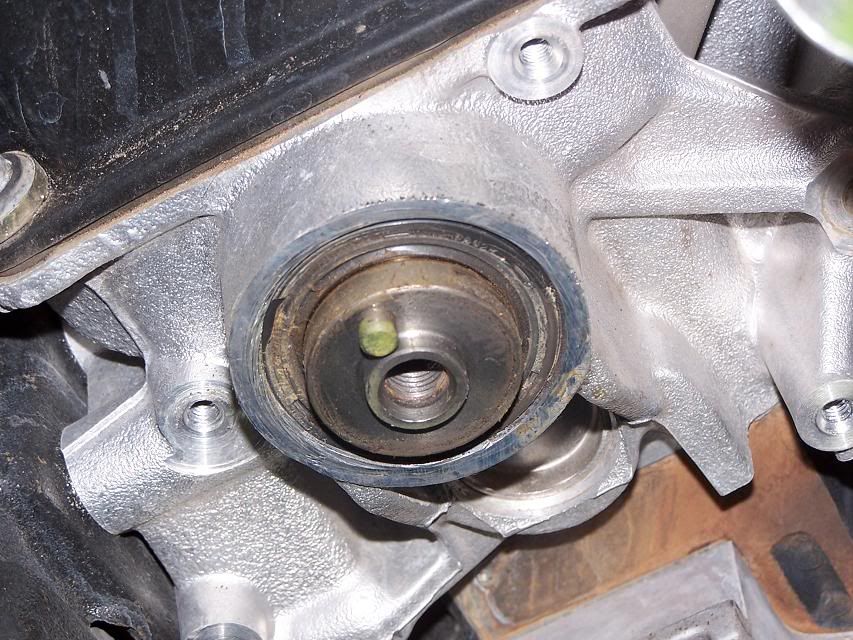
Notice part of the bottom of the shroud comes off to allow you to pull it out with the fan still in. Notice those two 'clips" on the bottom of the upper part of the shroud. They hold one of the trans cooler lines. I found it was easier to leave that line connected to the radiator (it will be on the driver's side) and to remove the trans cooler hose on the passenger side from the radiator for radiator removal. I also left the lower radiator hose on the radiator. Much easier to pull out that way.
![Image]()
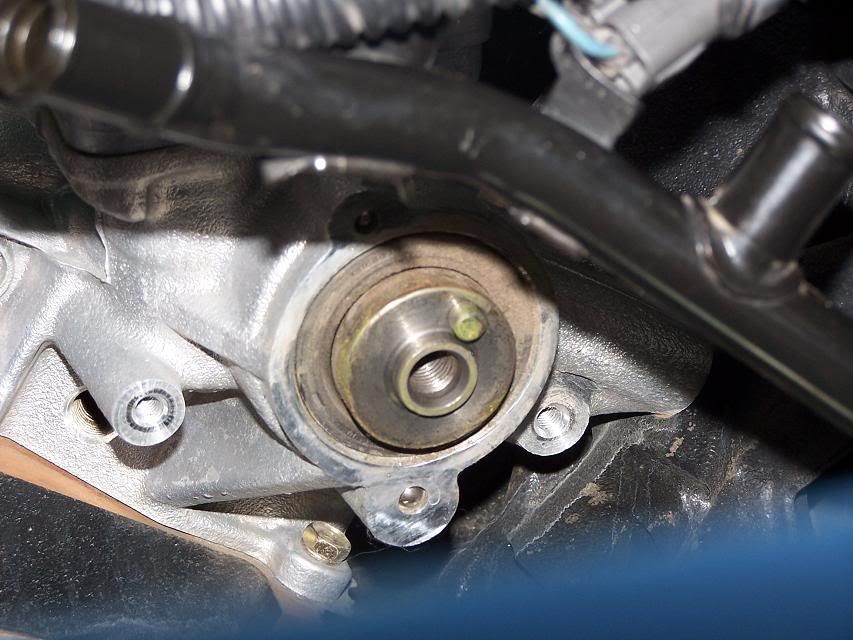
Then you can get the radiator, fan, drive belts and drive belt brackets out
![Image]()
![Image]()
![Image]()
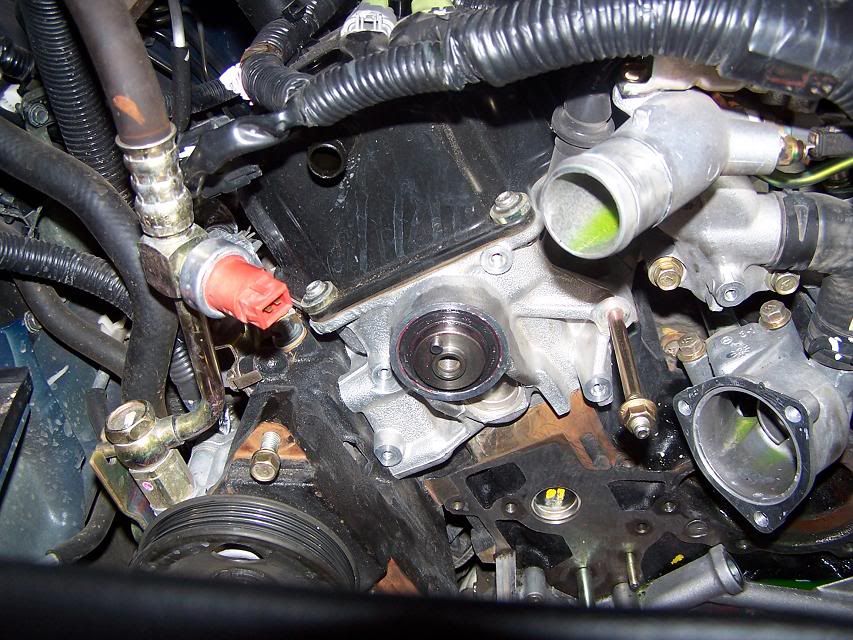
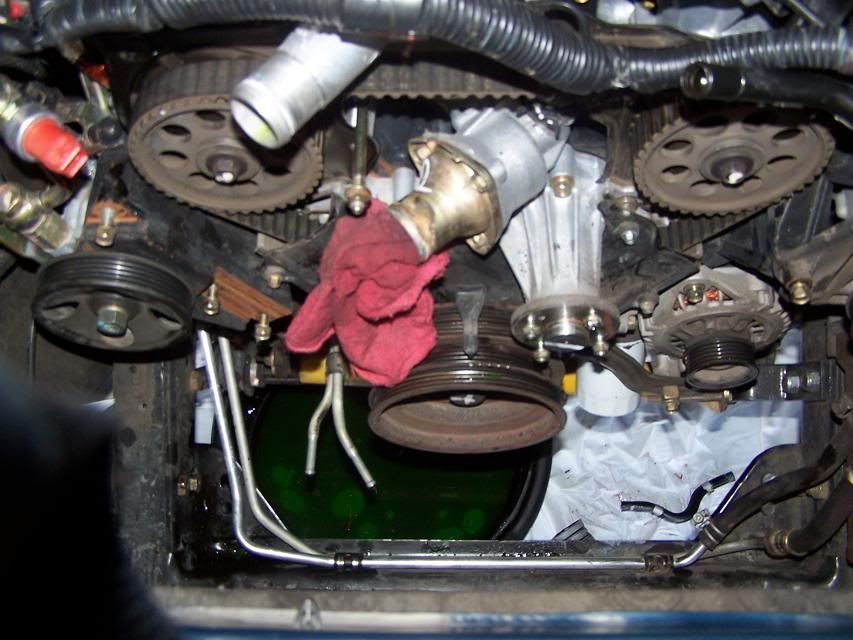
Here is a pic with the upper timing belt cover removed and the old belt still on. I forgot to get a pic of it with both covers off. Sorry, my bad! The heat was getting to me (good excuse huh?)
![Image]()
OK, I added a pic from a '92 Pathy VG30 V6 with the lower cover removed. Found it over at sadik.net Nissan How-To Section. Not exactly the VG33E but very close. You get an idea of what the belt looks like with both covers removed and the Tensioner on.
![Image]()
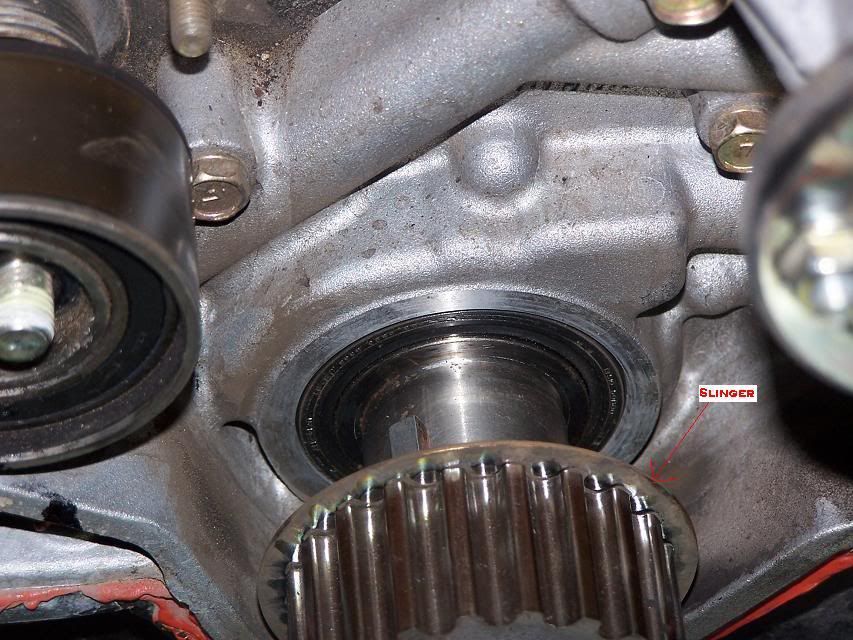
I took a good look at the alignment marks as the RH camshaft alignment mark was about a half notch off. It really doesn't show in the pics. The manual for some reason tells you to make sure the LH (Drivers side) camshaft mark is lined up and the crankshaft mark is lined up but nothing about the RH one. Hmmmmmm... Also, there was no alignment mark on the oil pump housing for the crankshaft pulley to align to so I had to mark it myself. I took allot of time here to make sure I got it right!
![Image]()
![Image]()
These are the parts and prices at the time of the job.
Parts:
Timing Belt Kit from xterraparts.com ($262) Includes:
Timing Belt
2 camshaft seals
1 crankshaft seal
Water pump & gasket
Tensioner, tensioner stud, & tensioner spring
3 drive belts
Thermostat
Tube of Red Silicone gasket sealant (Used on the metal to metal contact on the thermostat housing)
2 gallons of coolant ($15)
1 Tube of permatex form a gasket 2 (Used on the water pump gasket $3 - Use what you prefer here - I didn't use the red silicone gasket sealant here as permatex says that their brand is not designed for use on a solid gasket. I'm assuming the stuff in the Nissan tube was identical but I'm not sure. The old water pump gasket showed no signs of leaking and it used something other than the red silicone and then that was only between the gasket and the block. There was no sealant between the gasket and the water pump. I barely loosened the water pump bolts and the coolant started flowing! I'll keep an eye on this and let you know if the form a gasket 2 was a mistake.)
Total in parts: $280
Major Tools:
Metric Sockets from 8mm - 14mm
Compressor and 1/2" impact wrench
Impact Socket - 27mm for crankshaft pulley
Large Size 3 jaw puller for crankshaft pulley - I used Autozone P/N 27078
Small blade screwdriver for popping out camshaft/crankshaft seals or seal puller
White paint pen for marking the alignment marks
Torque wrench
5mm Allen Wrench for Tensioner adjustment
PART 1
Notice part of the bottom of the shroud comes off to allow you to pull it out with the fan still in. Notice those two 'clips" on the bottom of the upper part of the shroud. They hold one of the trans cooler lines. I found it was easier to leave that line connected to the radiator (it will be on the driver's side) and to remove the trans cooler hose on the passenger side from the radiator for radiator removal. I also left the lower radiator hose on the radiator. Much easier to pull out that way.
Then you can get the radiator, fan, drive belts and drive belt brackets out
Here is a pic with the upper timing belt cover removed and the old belt still on. I forgot to get a pic of it with both covers off. Sorry, my bad! The heat was getting to me (good excuse huh?)
OK, I added a pic from a '92 Pathy VG30 V6 with the lower cover removed. Found it over at sadik.net Nissan How-To Section. Not exactly the VG33E but very close. You get an idea of what the belt looks like with both covers removed and the Tensioner on.
I took a good look at the alignment marks as the RH camshaft alignment mark was about a half notch off. It really doesn't show in the pics. The manual for some reason tells you to make sure the LH (Drivers side) camshaft mark is lined up and the crankshaft mark is lined up but nothing about the RH one. Hmmmmmm... Also, there was no alignment mark on the oil pump housing for the crankshaft pulley to align to so I had to mark it myself. I took allot of time here to make sure I got it right!