Nissan XTerra Forum banner

SnickerDoodle's Build <3

23K views 210 replies 44 participants last post by  RacerXXL 
#1 · (Edited)
Year: 2002
Make: Nissan (duh)
Model: Xterra (double duh)
Trim: title states XE/SE so who knows!
Color: Super Black (with a splash of hot pink)
Codename: Chance
Pilot: Dani

Tires/Wheels:
Nitto Mud Grapplers 305/70r16
16” Pro Comp Rock Crawlers

Suspension:

PML
2” BL
Bilstein 5150 Series
3 pack AAL
Calmini UCA's
Low Pro bump stops

Armor:

Fully armored- SkidRow Skids
EOE Sliders (cut to fit 35's)

Electronics:

Midland 75
4' Firestik coated Hot Pink
JVC kw-nt300
Back up camera

Lighting:

B&M Lo Pro Light bar
20' Alien LED Light Bar
20' curved LED
2- 6' fog LED

Other:

InSain Fab Custom One-off Front Bumper
Bedlined & Trimmed Plastics
WeatherTech Floor Mats
FlipHitch Mod Doodle Style
Yakima Load Warrior roof rack
Gobi ladder
Stock radiator replaced with 02' Super Charged.
Safari Snorkel
Custom pink camo headliner

Steering:

Calimini Steering

Removed:
Mud flaps
Stock step rails
Majority of lower front bumper
Plastic door trim
Stock headliner

Wish List:
Winch

Many more mods to come.. stay tuned!

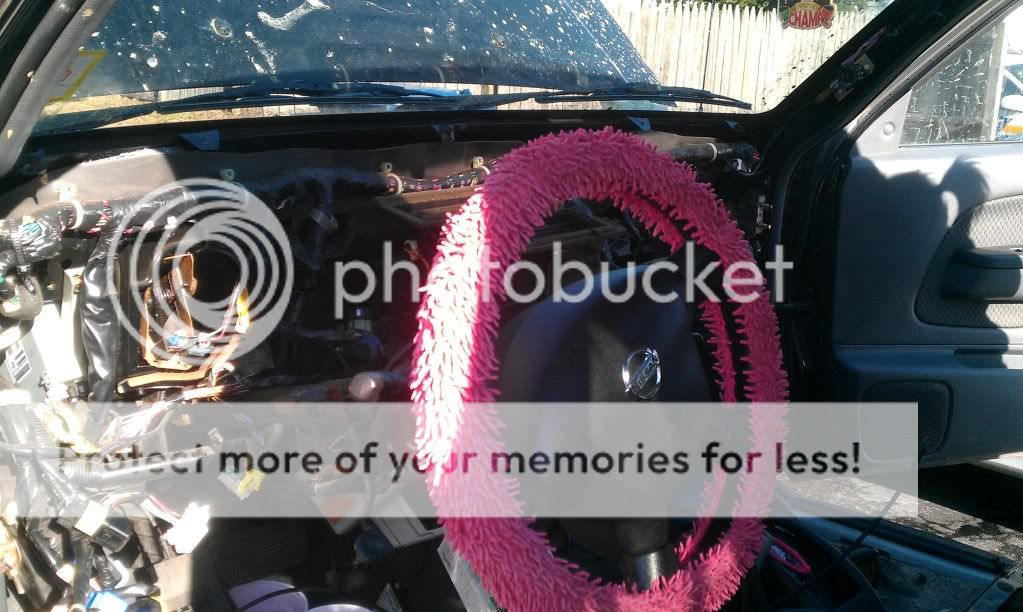
Bought stock March 2nd 2011.


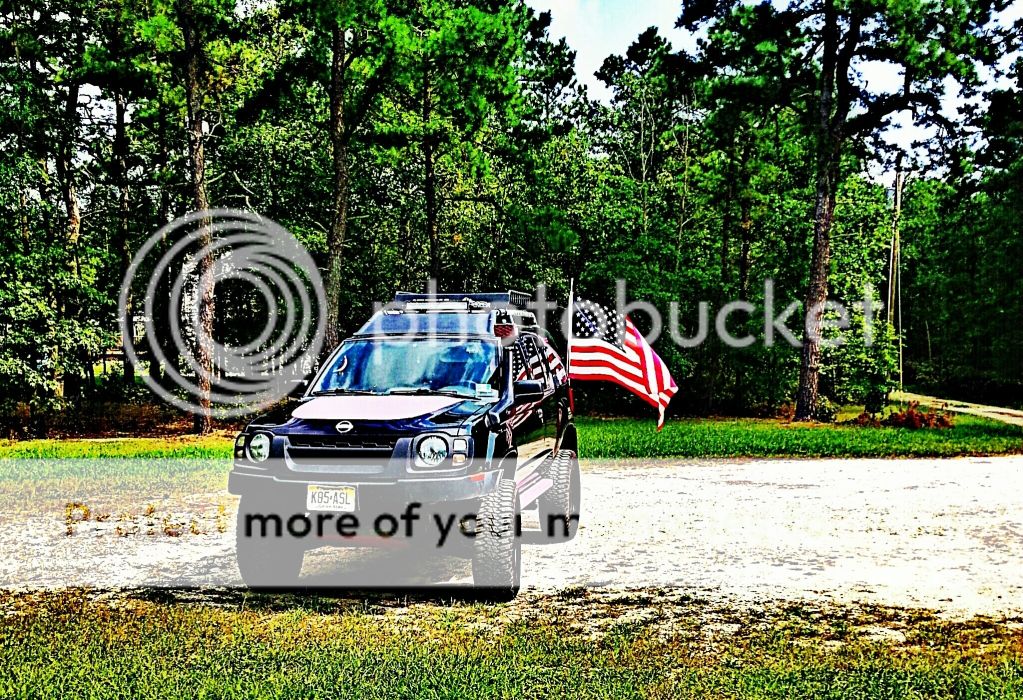
How she sits today June 2016


Merica!
 
See less See more
3
#2 ·
Well, a little bit of cutting was done over the weekend. This will allow me to cut the wheel and turn and not worry about rubbing. I still have to flex her out to see what rubs when the tire is tucked into the wheel well. But for now, with it being freezing out, this will do.

The line of cutting.


The first cut.


The final product.


The Boyfriend keeping warm.
 
#10 ·
lbishop- yes they are! Nice huh!? LOL


Well Mike, Tell me what I should get and I shall start buying once i start the new job! ;)
Any aftermarket centerlink, Idler Arm Brace (if you don't have one already) Heavy Duty Tie Rod Adjusters. All that OEM stuff really wears out fast with 33's.
 
#11 ·
Any aftermarket centerlink, Idler Arm Brace (if you don't have one already) Heavy Duty Tie Rod Adjusters. All that OEM stuff really wears out fast with 33's.
Grassroots centerlink might be the cheapest out there. Unless you want to spring for a SLR steering or the Calmini kit. Those got for about $600...but worth it in my opinion. :D

http://www.grassroots4x4.com/index....ion=com_virtuemart&Itemid=3&vmcchk=1&Itemid=3

PM me for SLR's email address. This is what is on BlueX and I think is the best out there. :)
 
#12 ·
Well this weekend I FINALLY replaced my heater core. And to be quite honest... it wasn't nearly as bad as I thought it was going to be. My core was still good, but seeing as though NO ONE sells the hard plastic tubes that connect from the core and run thru the firewall I had no choice but to buy a whole new core. I did keep my old core and the lower of the two hard plastics tubes, incase anyone is to need these later on down the line.

I wasn't sure why there was cause to take out the entire dash, but I then realized while doing the break down... there are two bolts that are NOT accessable without taking the entire dash out.

I'll try to break down the pics for ya, sorry I didnt take one with each step but.. hey it's taking apart the dash.. it's TONS of screws. LoL

Mind you I already had my core bypassed before starting this.

Remove glove box


Remove center colsole, steering column plastic, trim for radio, heater controls, the radio, etc. I removed two metal brackets that are behind the plastic trim as well.


Unattach the A/C hoses from the engine side of the fire wall. Be mindful to loosen the cap for the antifreeze on the rad before loosening the connectors. If you don't do this you will have a lovey mist of antifreeze spew all over your engine.


I can see the witch of a heater core! ::Insert many curse words sworn at the core:: I have already removed the black box that contains the AC unit.


*sorry for the blurry shot* The center black unit is what you will be removing.


Driver side shot... you can thank the boyfriend for it being a crappy picture.


After I went Office Space on the old core are retreived it back from the other side of the front yard. The old core gets the finger. The whole core had to be replaced because of this little break in the heater core tube that was not even an inch of tubing.


You can't see it but I can feel it! She's blowing hot!!! However, the blower only works on 3 and 4. I have to play around with the blower cable to get it to go back to the original setting.
 
#13 ·
You can't see it but I can feel it! She's blowing hot!!! However, the blower only works on 3 and 4. I have to play around with the blower cable to get it to go back to the original setting.
That's a classic sign that you blower motor resistor is going. Easy fix. Especially compared to the heater core LOL. But if you can get it to work by wiggling wires, that may not be your problem.
 
#17 ·
i love the flipped hitch look, do you know how much higher the receiver is the way you have it v stock? jw
 
#18 ·
well the flip hitch is still underway. I went slightly different then what's his name did. Instead of cutting out a large chunk of the stock bumper, i measured and remeasured and have cut out a hole for the hitch to slide through. I still have a bit more cutting and have to redrill some holes for the hitch to be more securely attacked, then finish it off with replacing the license plate lighting and adding some sweet trim. Pics will follow hopefully after this weekend
 
#25 ·
well the only problem with that is that I need the truck and hitch too. Each hitch seems to sit differently on each truck. I ended up putting spacers under the hitch where it mounts to the body then having to trim the spacers. i also had to trim the plastic bumper topper as well. But you could make a weekend of it and stay at the new house once we get settled in ;)
 
This is an older thread, you may not receive a response, and could be reviving an old thread. Please consider creating a new thread.
Top