Nissan XTerra Forum banner

lbishop's xterra/build thread

8K views 47 replies 11 participants last post by  lbishop 
#1 ·
just a little background, my 04 x is my 2nd xterra. I started out with a 2000 xterra se 4x2. Traded it for a single cab tacoma 4x4, and thanks to generous buy back program from toyota i got the 04 and havent had a single regret lol.

*1st 2 pictures r off my phone not real good quality!!
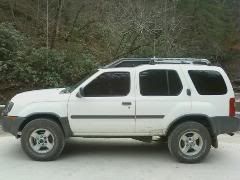
My 1st xterra


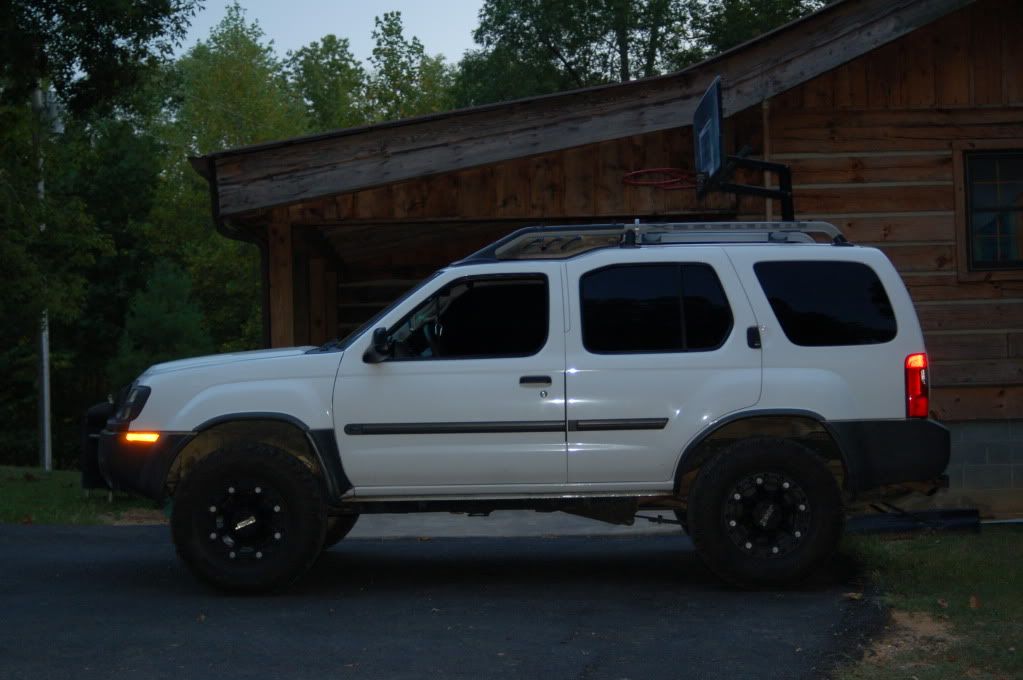
Heres the xterra when i 1st got it (bone stock); I ditched the step rails and mudflaps the day i brought it home


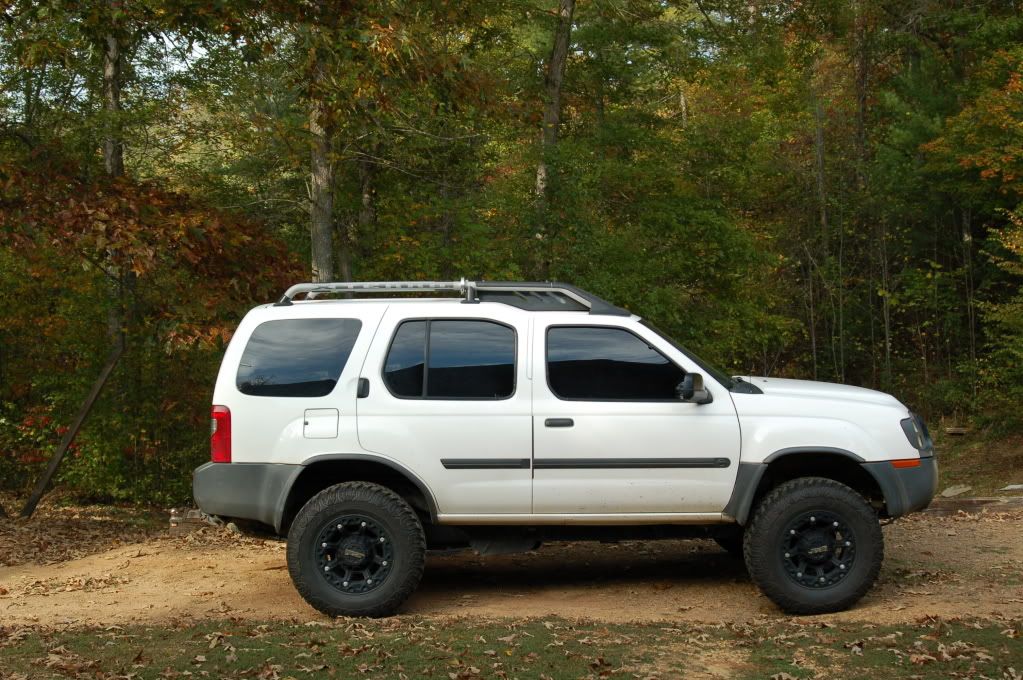
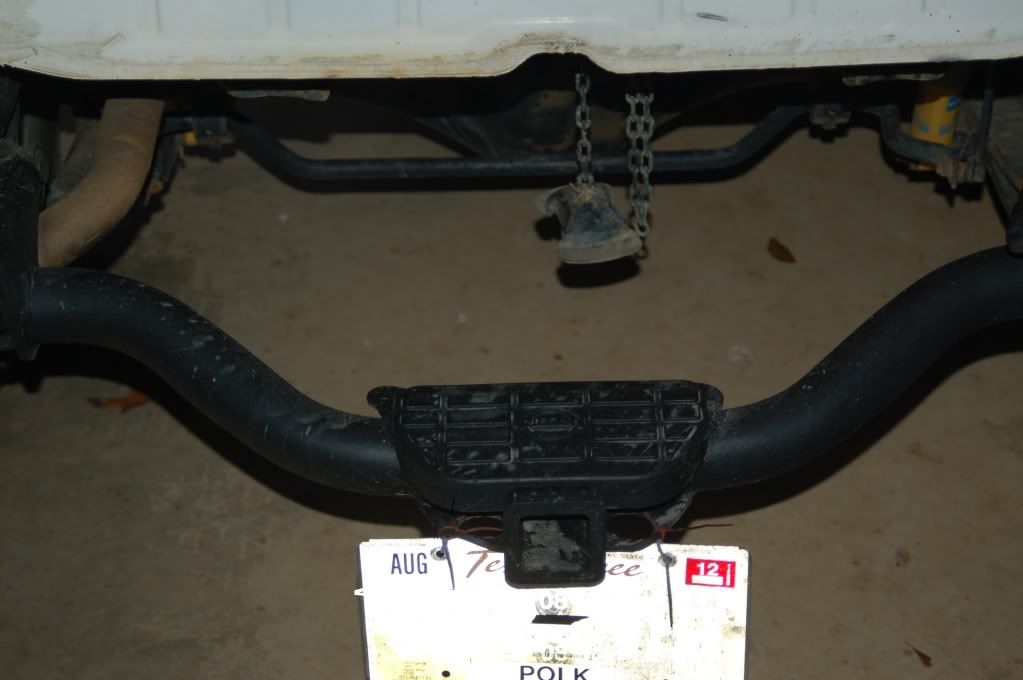
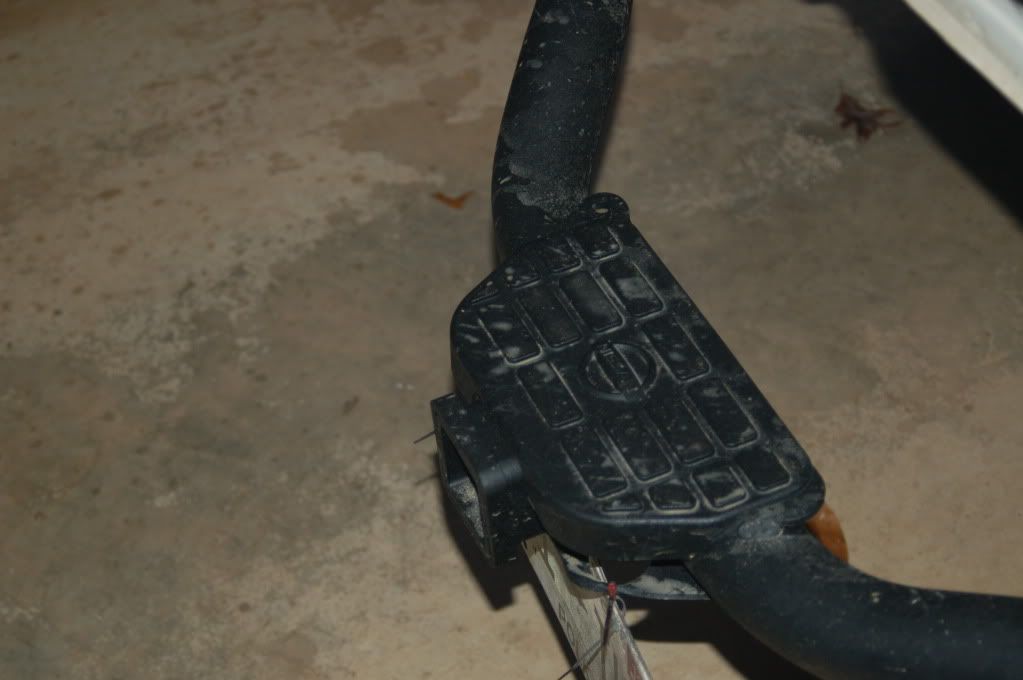
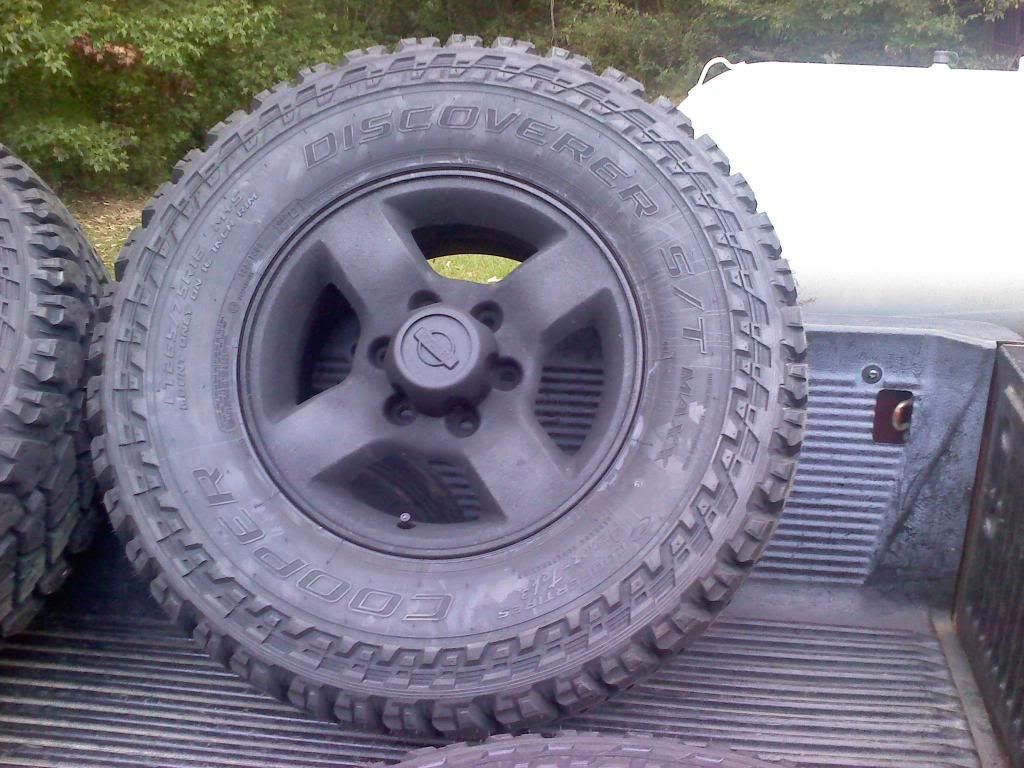
Next came a t-bar adjustment, new wheels and tires


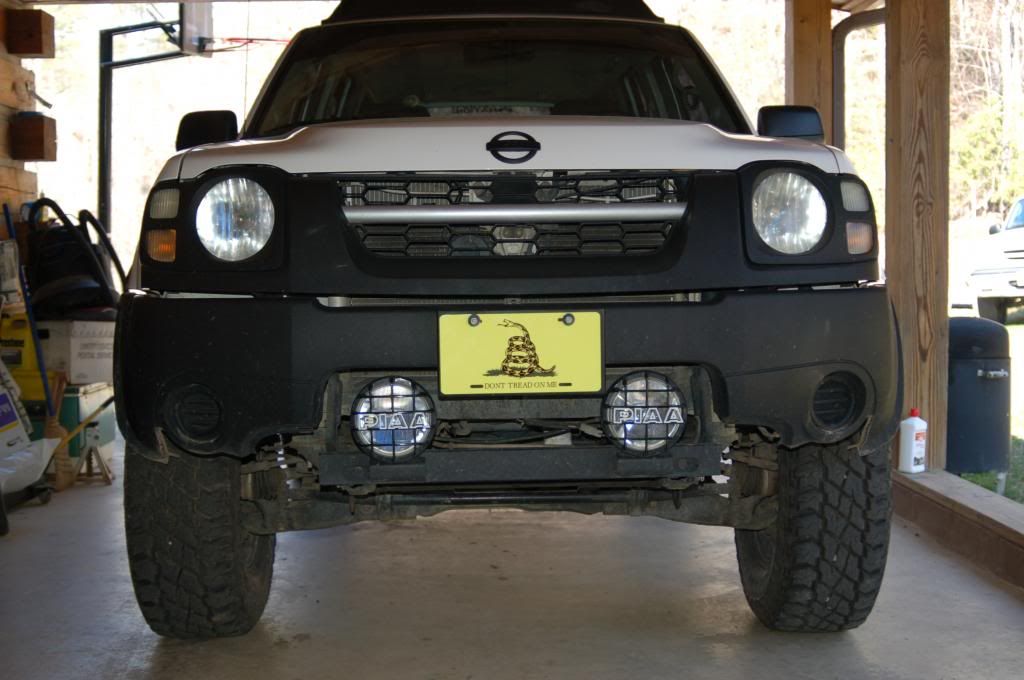
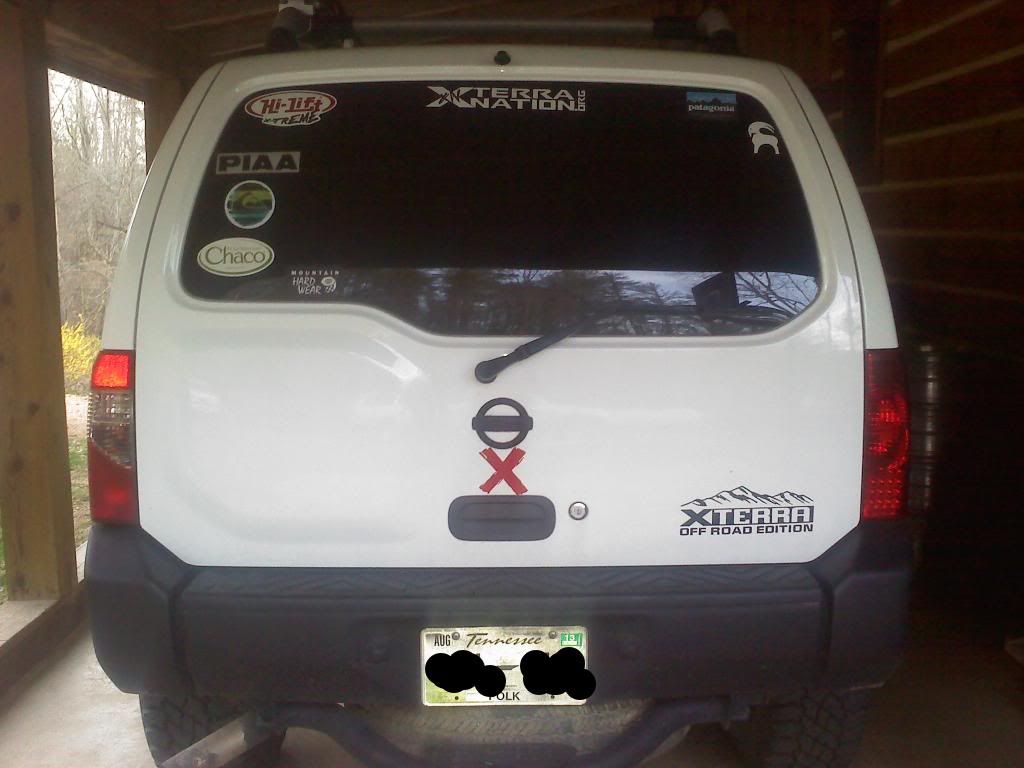
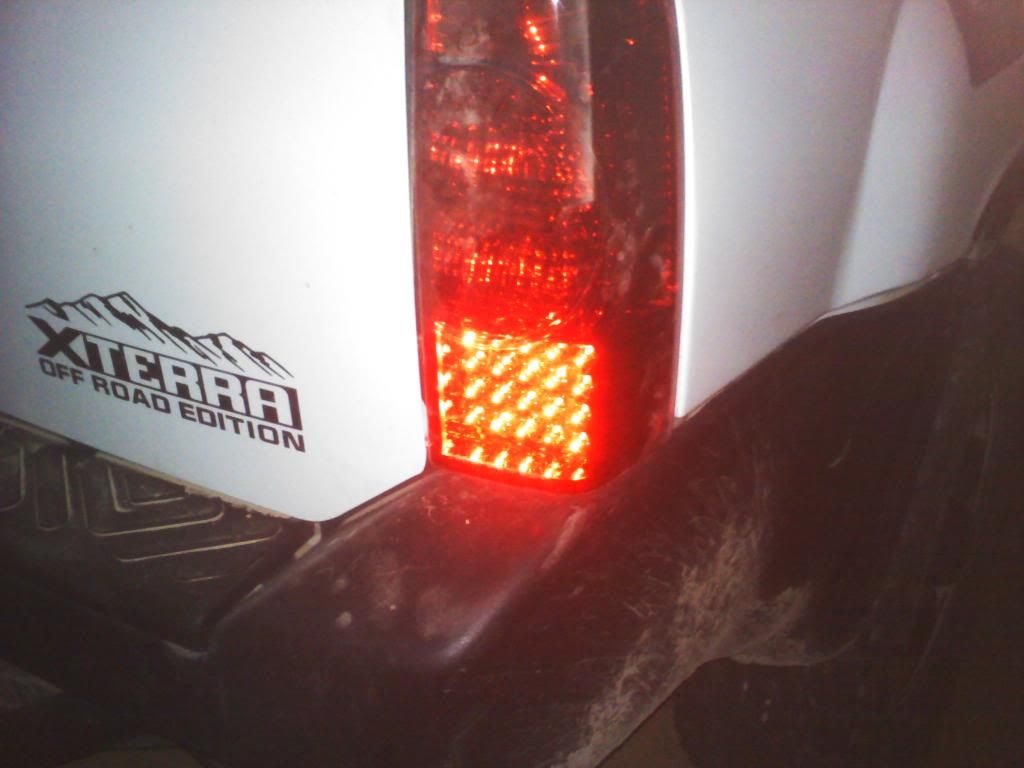
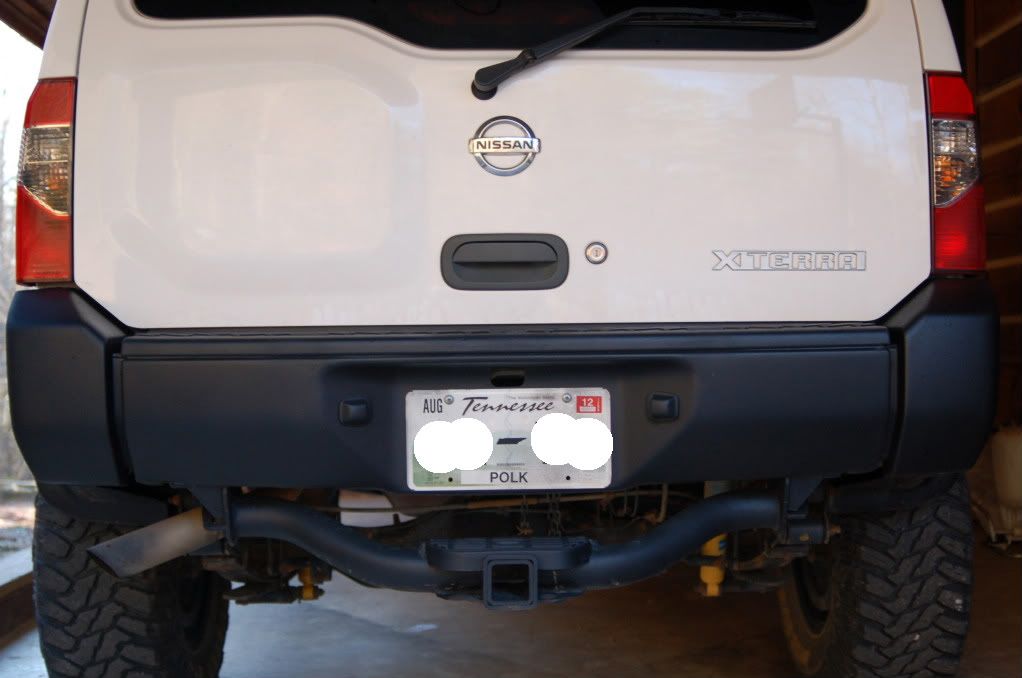
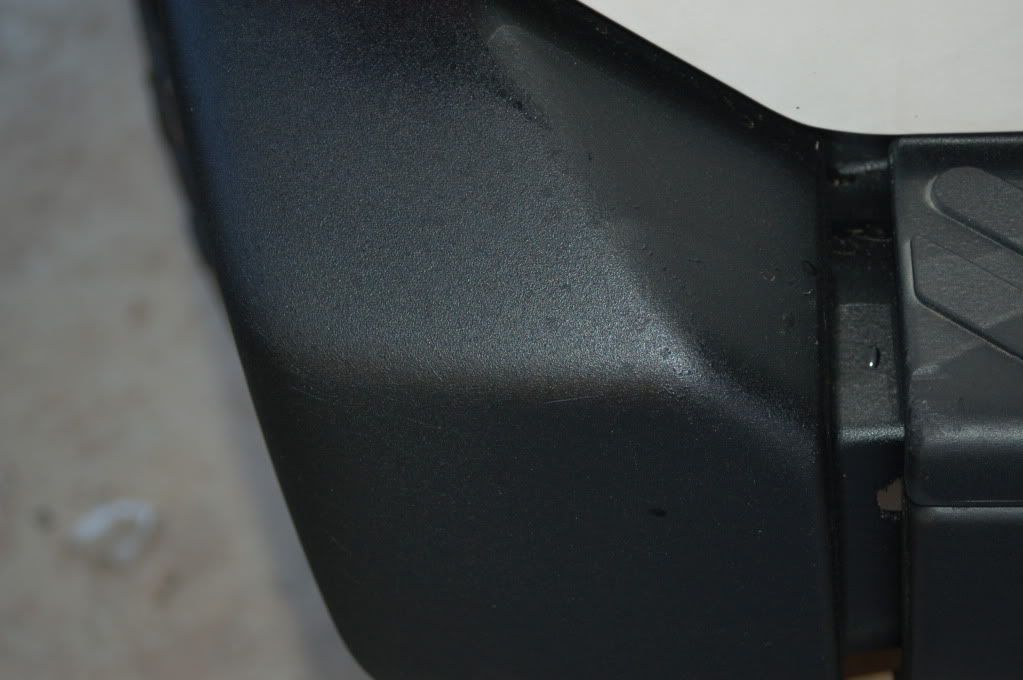
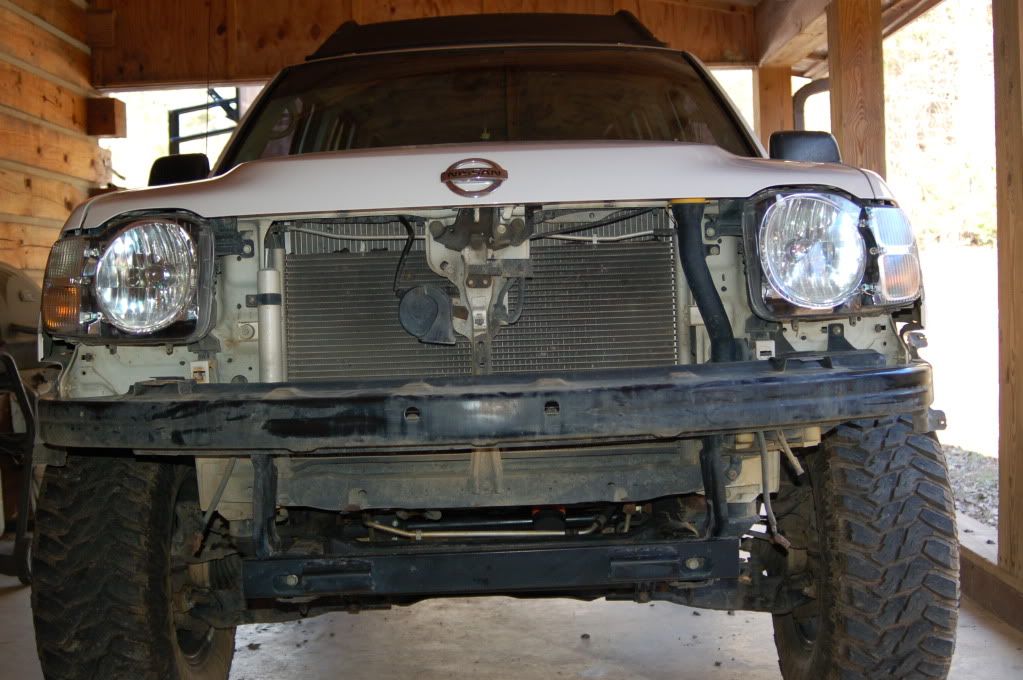
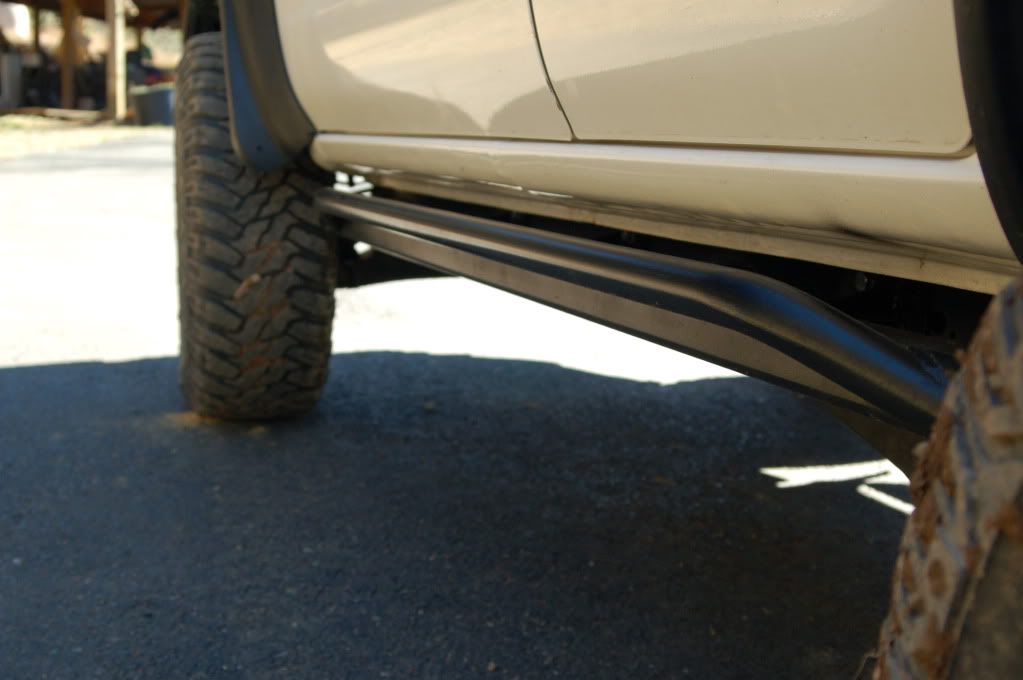
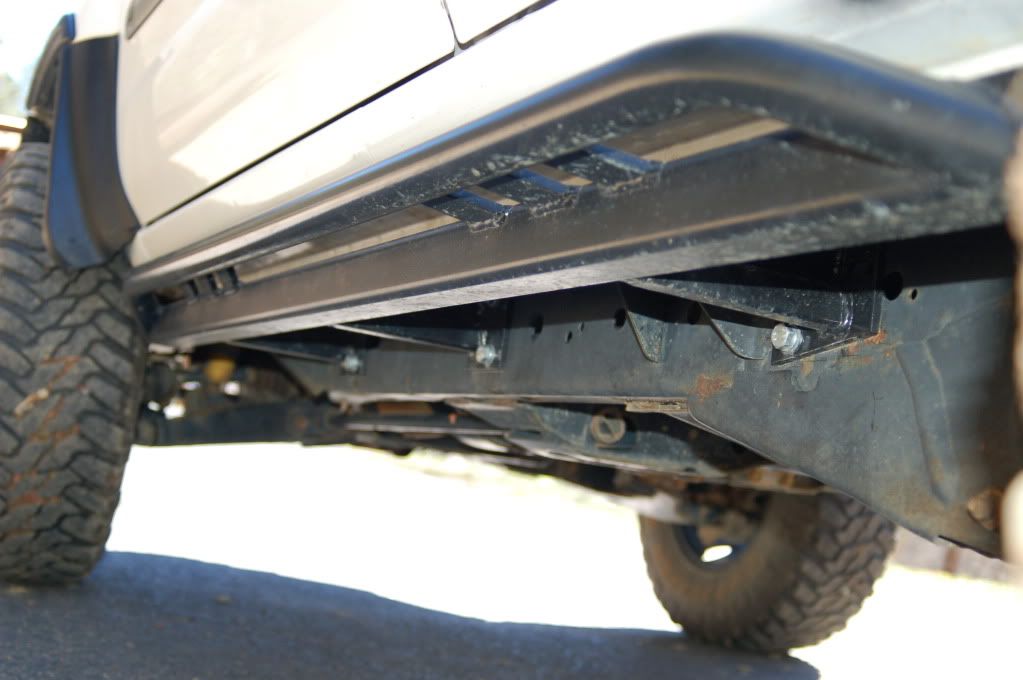
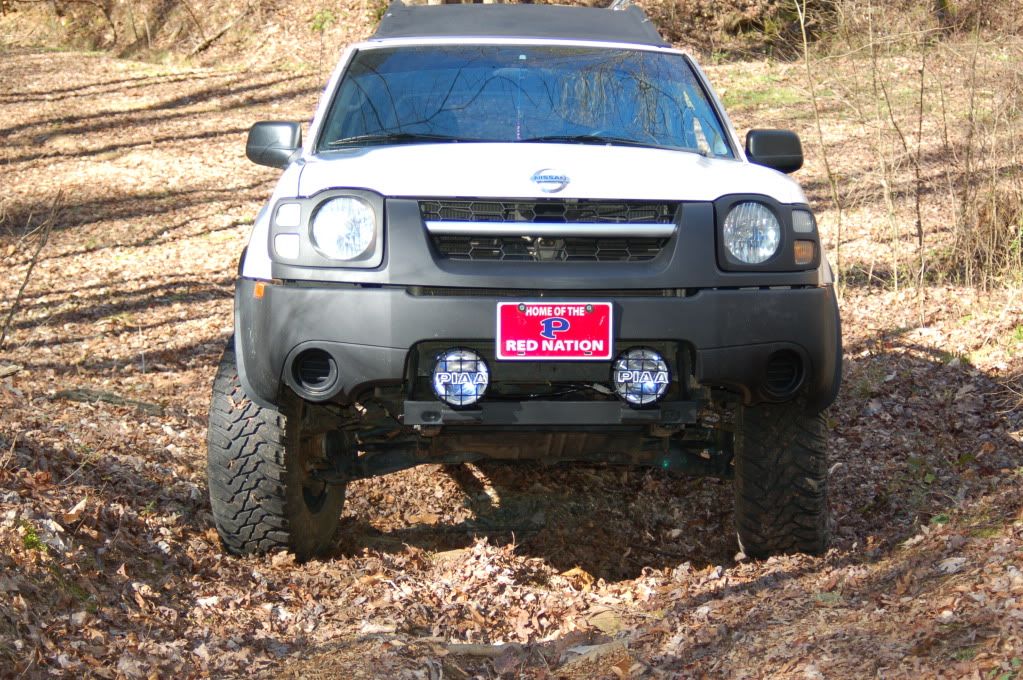
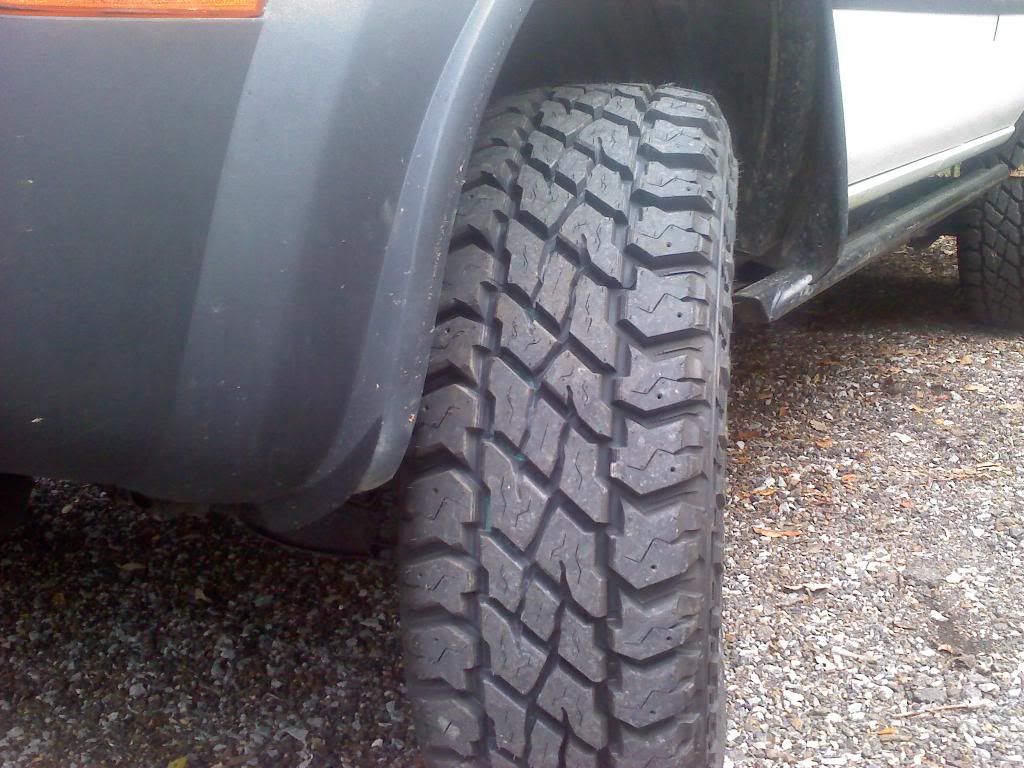
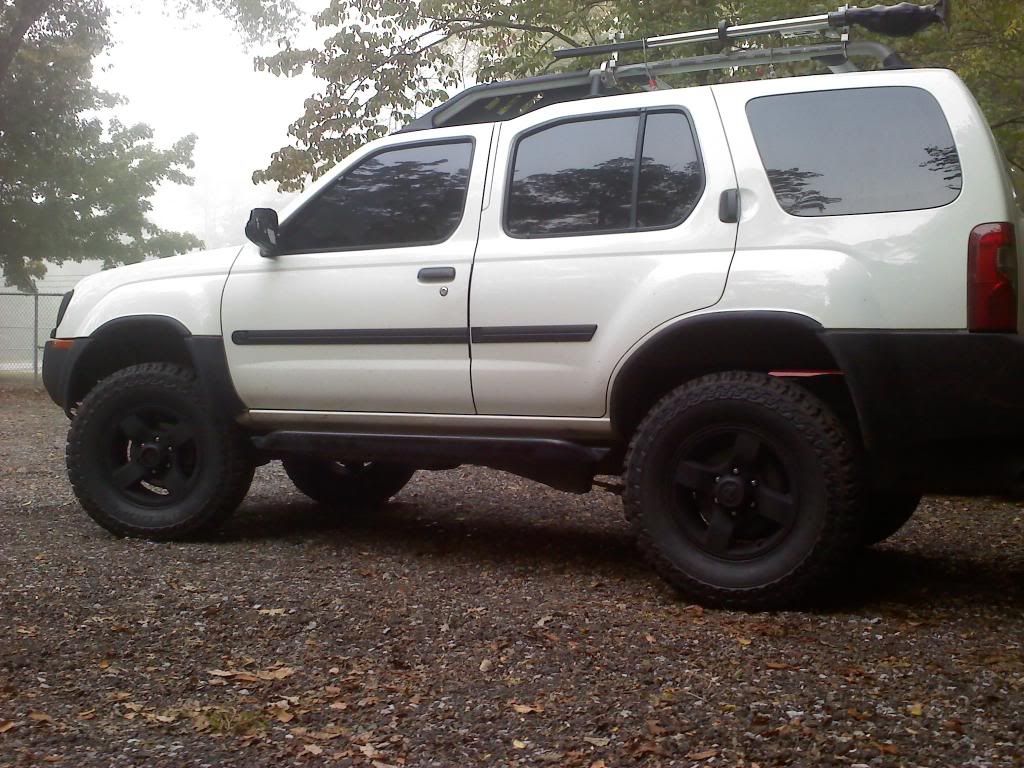
Finally as it sits today!!


Mods to date:

Exterior
265/75/16 Cooper Discover STTs
16x8 Gear Alloy Blackjack Rims w/ 4.5 inch backspace
3 inch lift kit BIlstein 5100 hd shocks
Bilstein Steering Stabilizer
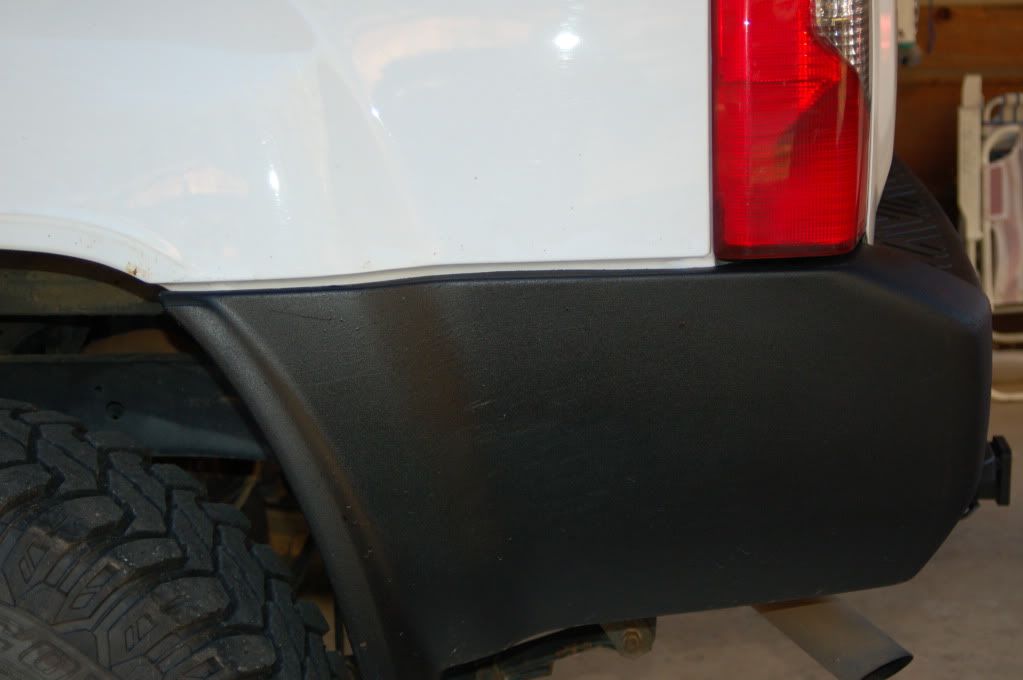
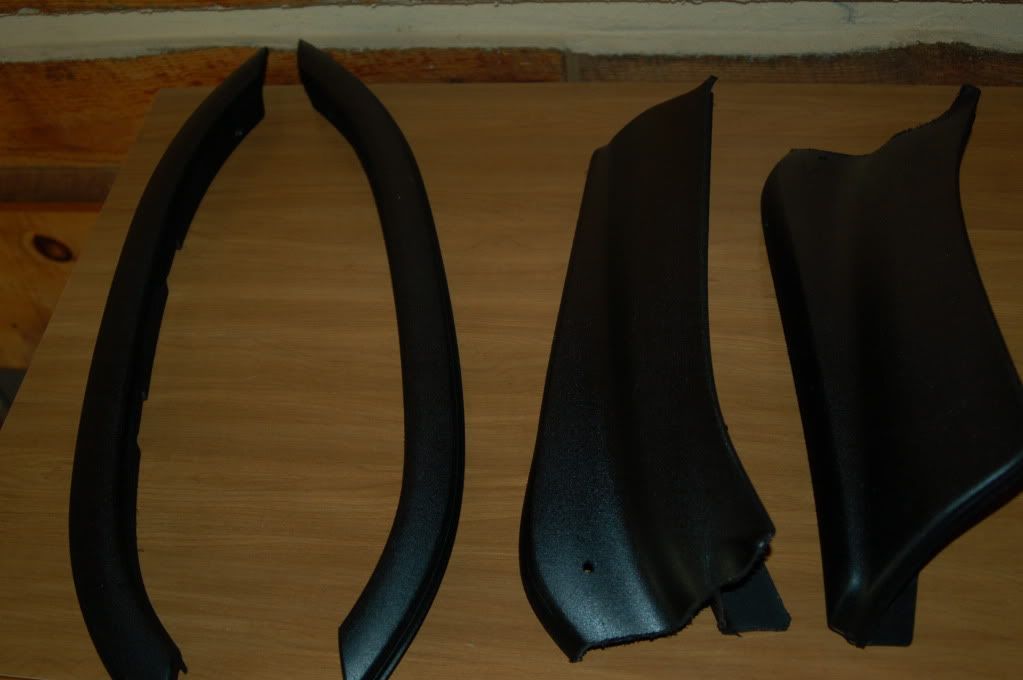
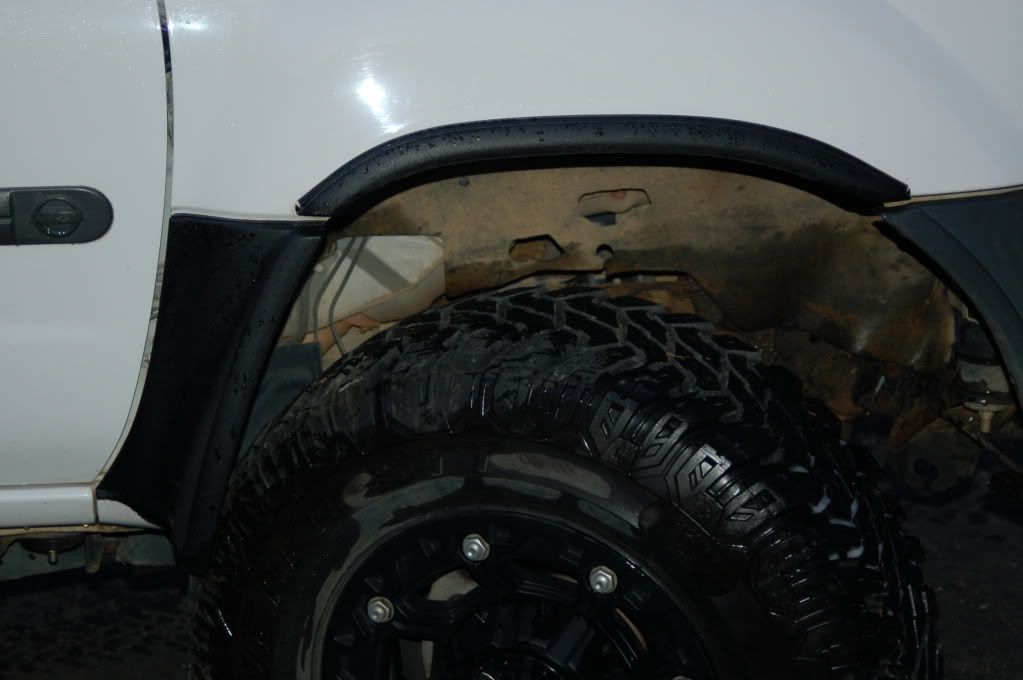
Extensive plastic trimming
Black out windows (15% all around plus tint strip on the windshield)

Interior
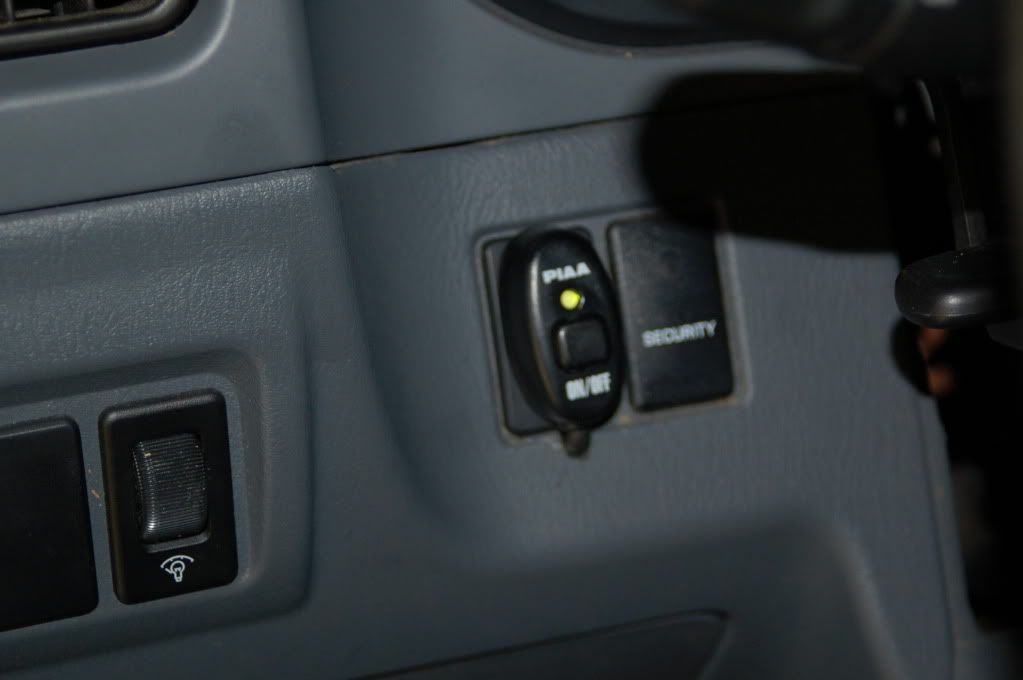
Kenwood xd794 Headunit w/ ipod hookup
6x5.5 Rockford Fosgate Punch Speakers complete w/ tweeters (Front)
6x9 Rockford Fosgate Punch Speakers in the rear

Many more mods coming soon
 
See less See more
4
#4 ·
Need some picts of it off-road and definately pullin my buddies jeep out lol i guess ill steal the gf's camera and get some shots this weekend

thanx for the compliments btw
 
#5 ·
After the body lift, I had to get rid of that gap. Anyways after pulling the bumper off I decided to spray the hitch with rust-oluem spray on bed liner.

It rained like right before i took these pictures so there is some mud on the hitch but anyways. (Yes the license plate is zip-tied to the hitch lol)


The bumper is back on the truck after being painted with the same stuff and re-drilled to move it up after the body lift. I'll tryin and get some picts of it up later.

The plastics and the roof rack are all gonna be sprayed in the same stuff as soon as I get the time to prep and paint them
 
#6 ·
fixed the gap and painted rear bumper


Front wheel well trim


Bumper, grill and headlight bezels


I'll get some picts of the that stuff back on the truck plus the roof rack plastics
 
#8 ·
A little update here alot has been done since i last updated this thread:

finally finished painting the front of the truck plus the roof rack


Next came a 60 inch ji-lift mounted via hi-lift tube mounts to the roof


Then came the Rocky Road Supersliders


After selling the Hellas, went with some PIAA 520 ATP lights


Also, add some PIAA xtreme white bulbs to the headlights, and blacked out the nissan logos

more picts to follow....
 
#9 · (Edited)
Then came new shoes and bedlined the stock wheels
265/75/16 cooper discoverer st maxxs


added this a little while back


*I swapped back to my stock rims after a local tire shop did $300 worth of damage to gear wheels.
 
#11 ·
Man it was a couple things that made me mad with the shop, but as far as the damage goes it was cosmetic. They tore a couple of the silvers things around the outside of the wheels off of 2 of them. and they were mounting a brand new I got to fix one I messed up when I wrecked. They done a terrible job, I didnt get home with it but what i slung on the wheel weights off and discovered I had no valve stem covers.... Went back told them what happened and they pointed to a sign that says not responsible for damage to aftermarket rims. They did offer to re-balance the tires but were told I did not want them touching my truck ever again.

Thanx for the compliments btw
 
#12 ·
well I figured i'd post this fail since my buddies have yet to let me live it down


The tacoma you see pulling me out in this video has a locker, and a set of cooper discover stt mud-terrains and refused to try it.

There was another tacoma with us that day, locker, 33s, lifted and refused to try it also
 
#13 ·
been awhile since i updated this but heres go:

Bedlined my gas flap and stuck an oakley emblem on there


retired my red nation for something that grabs your attention a little more


Added a set of l.e.d tailights courtesy of my girlfriend for our 1 yr.
(1 light installed, had to splice the old plugs onto the new lights)

tail light is a little dusty in this picture


Next up is to finish my suspenion lift...
*ordered the calmini upper control arms today
*Calmini aal is on backorder for like 6 weeks :machinegunner:
*4x4parts revolver shackles and extended rear brake line are in hand and ready 2 go

*got my camber bolts also
 
#14 ·
Considering going back to my gear wheels, all the silver things around the outside of the wheels have been removed.

*just to hold me over till i can afford some new wheels, got several I want lol


#16 ·
Man theres no comparsion to stock. I should have took a picture for a side by side comparison but I dont think pictures due them justice lol. I was a little nervous about my reverse lights being red but I hardly notice it. You want be disappointed.

Idk if it has anything to due with mine bein 1.5 gen or not but I had to splice the old plugs onto the new lights. Fink and the other guys with these lights didnt have too
 
#19 ·
#20 ·
@racerxxl no worries man

as far as my wheel prep work
1. sand
2. wipe down with acetone
3. let dry
4. tape off edge
5. prime with self-etching primer
6. paint with rusto-luem truck bed-coating
 
#21 ·
Man, I'm glad to see what the bedliner paints looks like on the plastics. I was thinking about doing that to mine, and this definitely convinces me to go through with it. Nice looking truck!

What did you do to prep the plastics for paint, if you don't mind me asking?
 
#22 ·
thanks bro

prep work
1. remove plastics from truck
2. sand with 80 or 100 grit. (nothing less) ( i used 40 grit and found out the hard way, took lots of paint to fix my mistake)
3. Wash with soap and water or wipe down with acetone
4. wash down with rubbing alcohol (optional step if you use acetone, recommend if you use dish soap)
5. let dry completely
6. Paint

*take your time and will turn out awesome. Not to mention this stuff is very forgiving if you make a mistake. I messed up a few pieces and sand them down and re-painted. You'd never know looking at the truck
 
#23 ·
Awesome, thanks for the info! That's exactly why I wanted to use the bedliner... The texture seems to be pretty forgiving while also looking pretty cool. I've never done anything like this before, but I'm pumped to try. Is this something I can finish on one sunny day? (So the plastics dry faster haha)
 
#24 ·
Man you could probably get it knocked out in a day, idk how good it would turn out. Maybe rushing it a little bit. A weekend for sure though and have plenty of time to let it dry. I painted mine from back to front cause I could take the rear plastics off and paint it, and still drive it if I didn't get finished in time.
 
#26 ·
This is an older thread, you may not receive a response, and could be reviving an old thread. Please consider creating a new thread.
Top