Time- took me around 7 hours because i had to take the diff down twice to adjust the new bushings
Tools-from what i can remember
12mm wrench
14mm wrench
long needle nose pliers
17mm wrench
17mm socket
3/8 ratchet
vise
screw driver to pry with
drill and drill bit to rip apart the old bushings
saw zaw to cut out the bushings
hammer
wire or zip ties to secure drive shaft and cv joints
blue thread lock for drive shaft and cv joint bolts
breaker and cheater bar
and if possible at least one extra set of hands
match mark all flanges
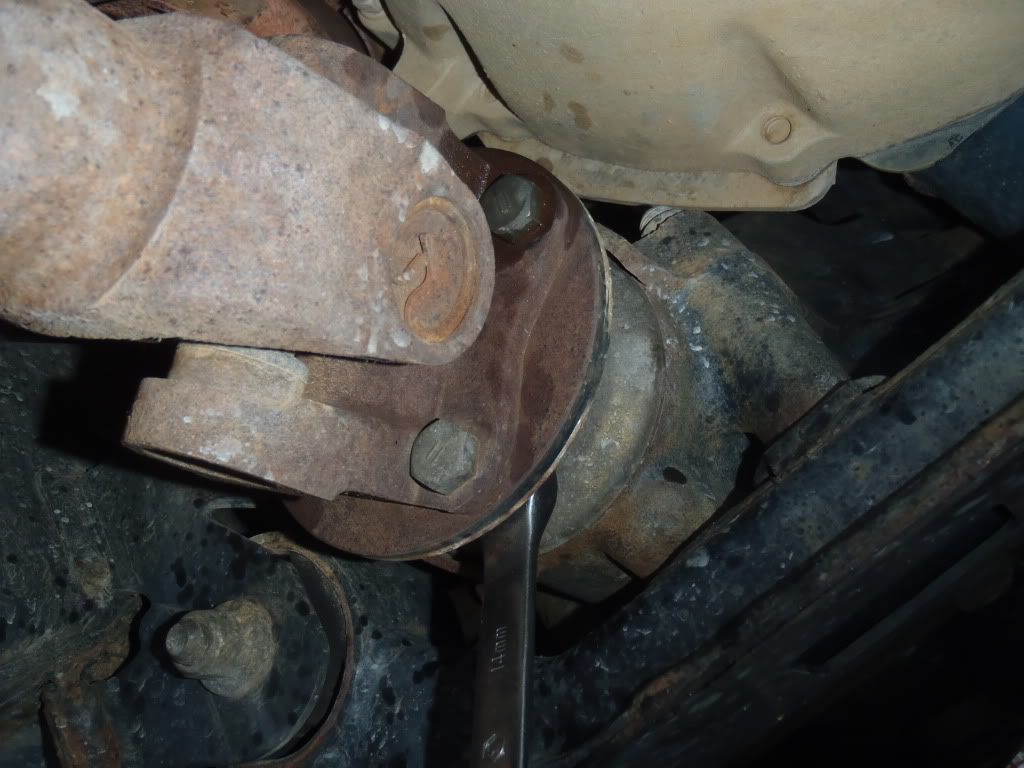
first un-bolt the drive shaft that connects to the front diff and secure it with some wire.
![Image]()
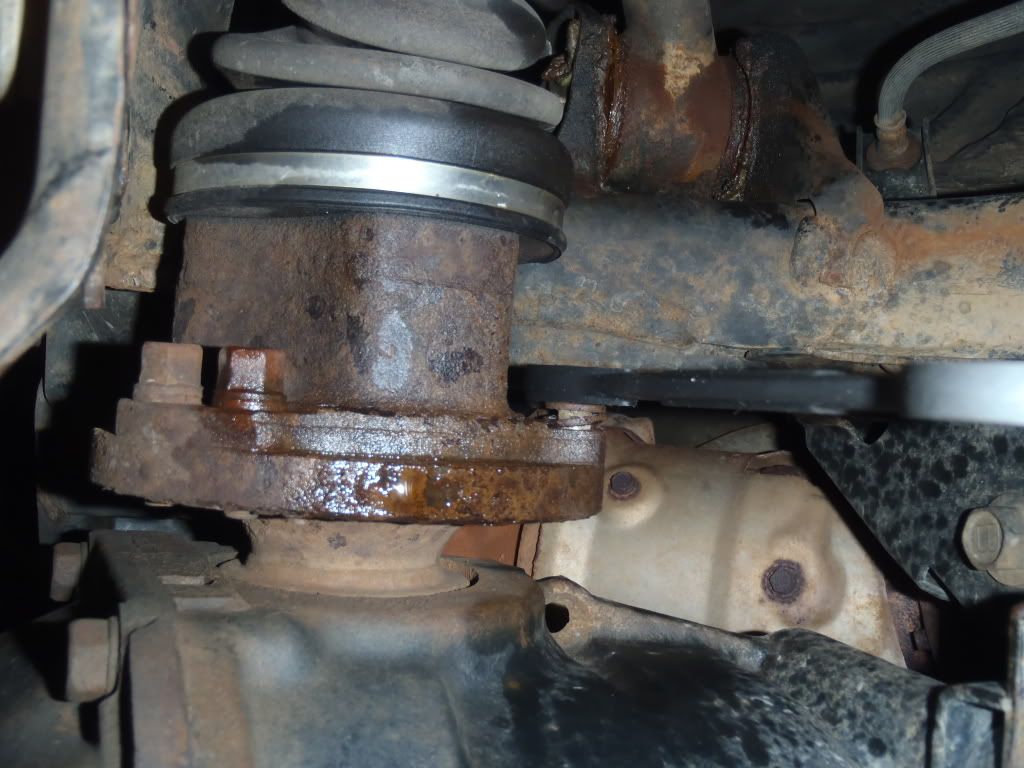
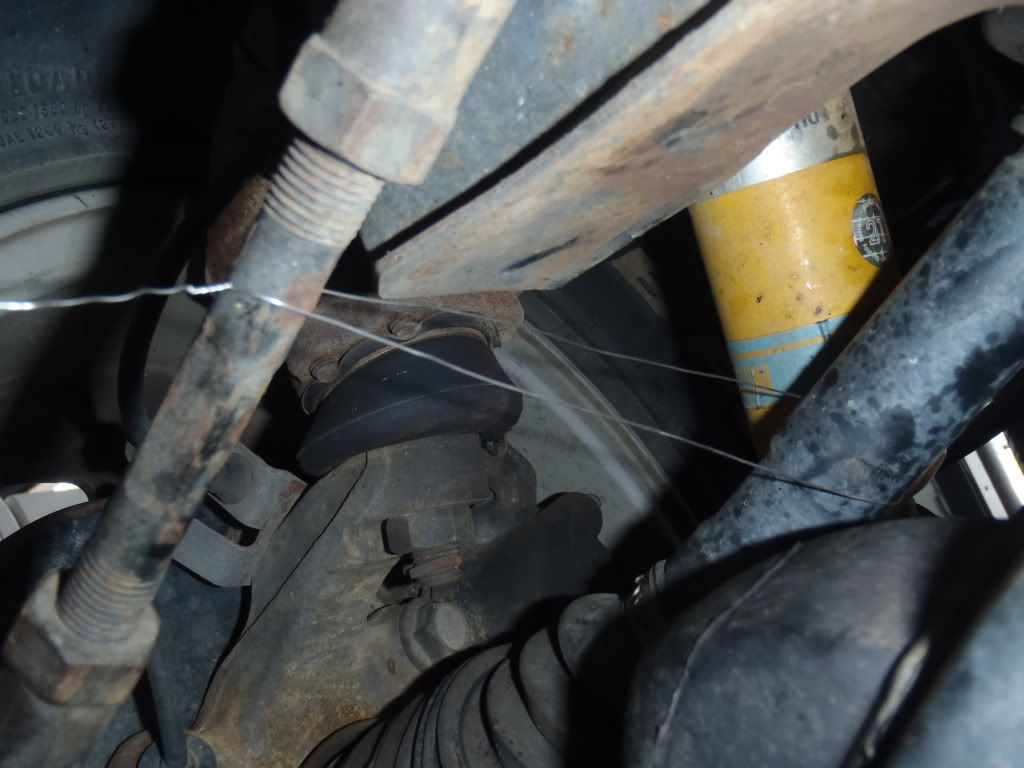
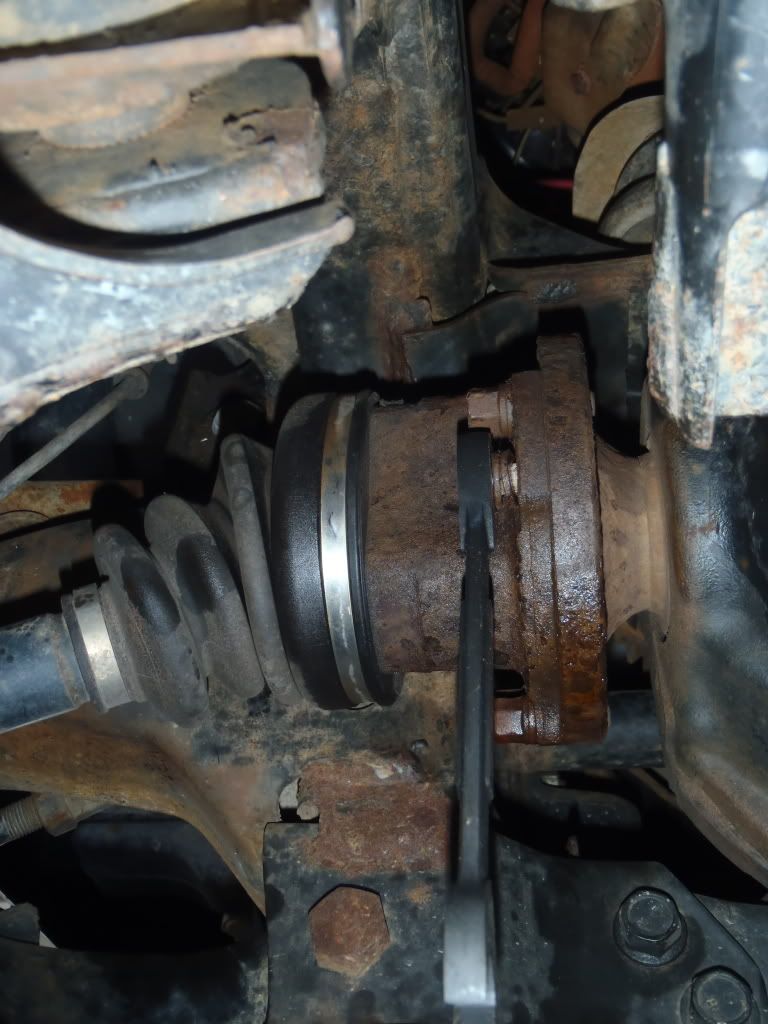
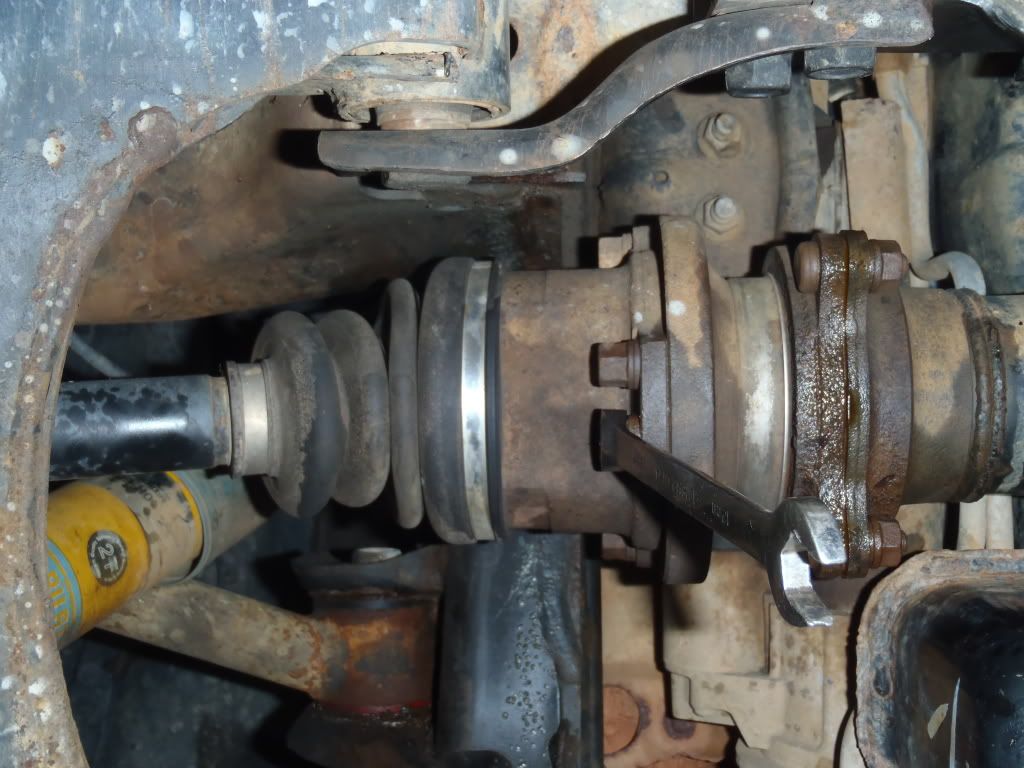
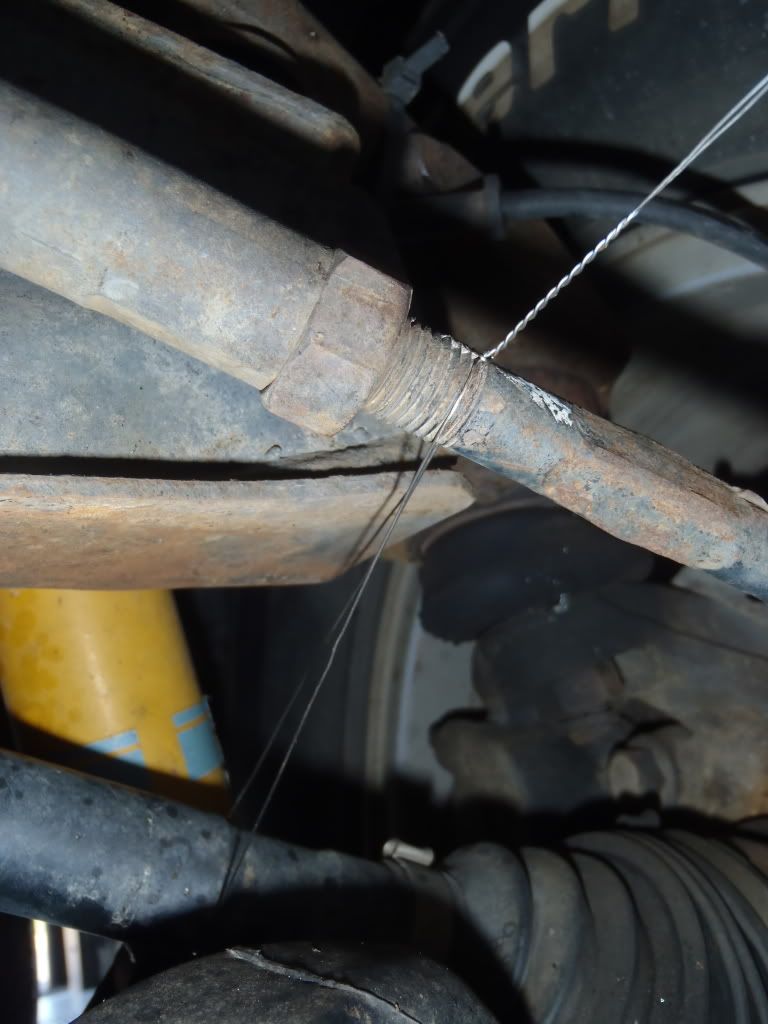
then unbolt the driver side and passenger side cv joints from the diff, and secure them as well. in the pics i secured them to the tie rods but later found that the uca was a better option.
![Image]()
![Image]()
![Image]()
I forgot a picture for this one but remove the front diff breather hose. this is where the long needle nose pliers come in. the hose is easy to spot and not too difficult to get to.
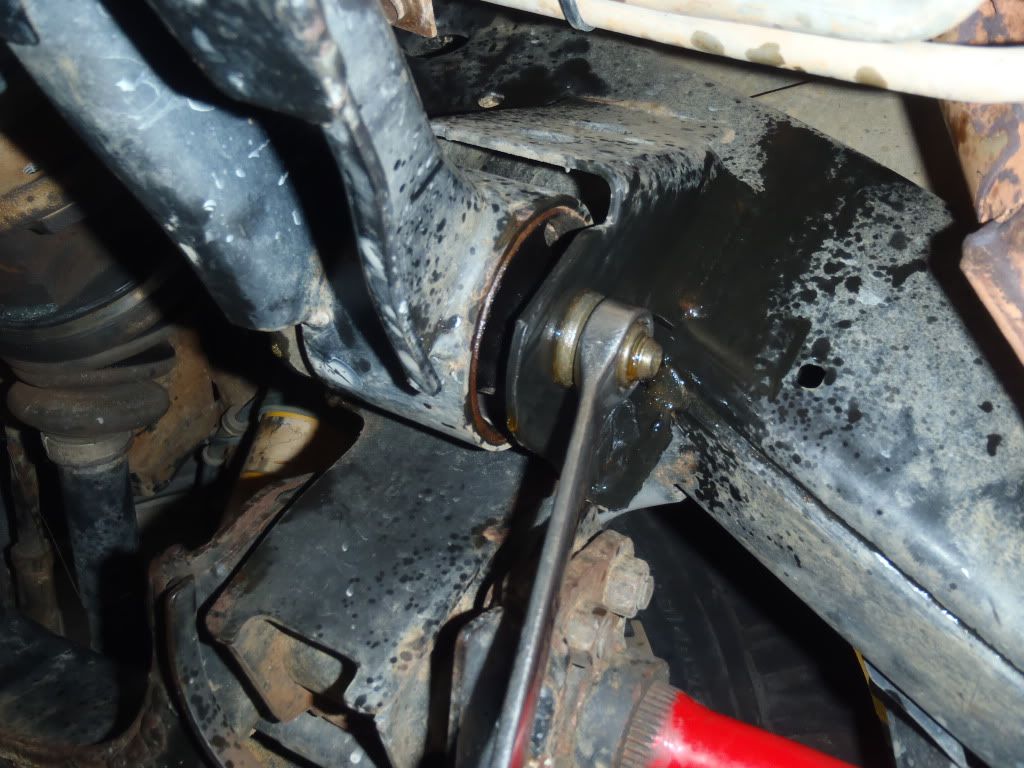
next i unbolted the cross member behind the front diff (two bolts, one on each side) don't take the nuts out just yet to keep the whole assembly secured. you may need the cheater bar for these.
![Image]()
![Image]()
![Image]()
from here its a good idea to support the diff, its unlikely to fall out of place but this could hurt if it falls on any part of your body.
![Image]()
looking from the front of the vehicle the bracket attached to the left of the diff needs to be removed. i unbolted it from the diff and left the bracket on the frame and it worked out fine.
![Image]()
now remove the the bolt directly in front of the diff. i left the bracket on this one as well.
![Image]()
now carefully remove all the bolts while keeping a close eye on everything to ensure the assembly does not come crashing down!
![Image]()
to remove the diff from its resting place the rear end of it is going to have to get lowered almost to the ground while moving the whole assembly backward.
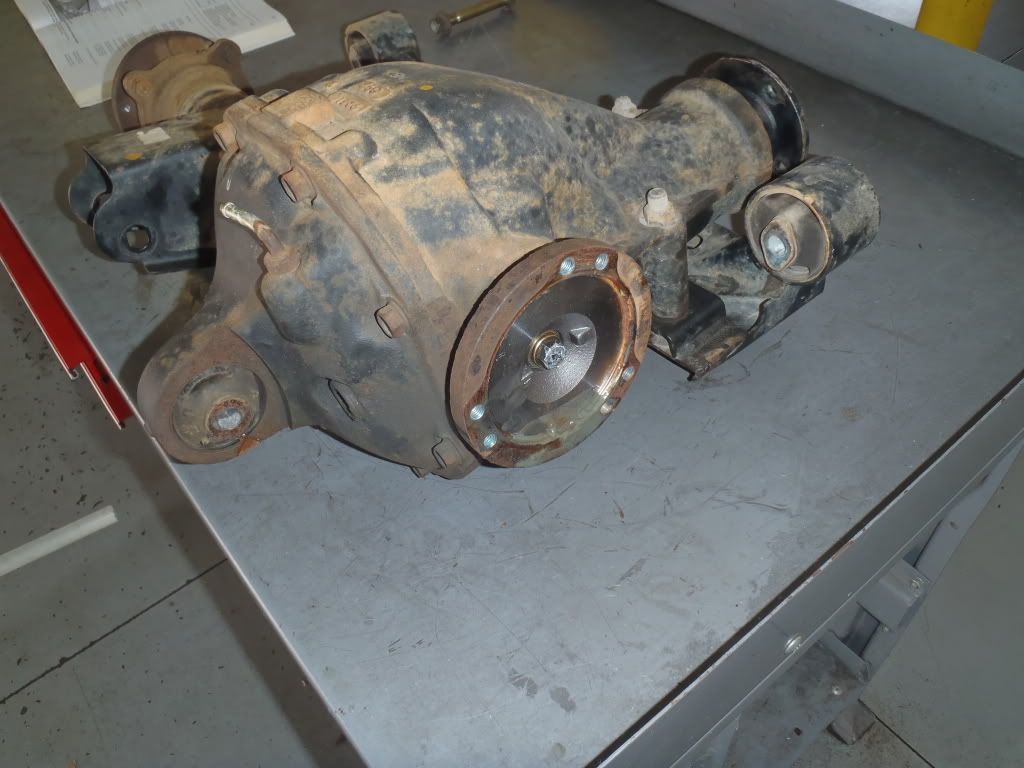
it doesn't seem to have a center of gravity so try to get some help lowering it. here she is once removed! the easy part is over!
![Image]()
![Image]()
![Image]()
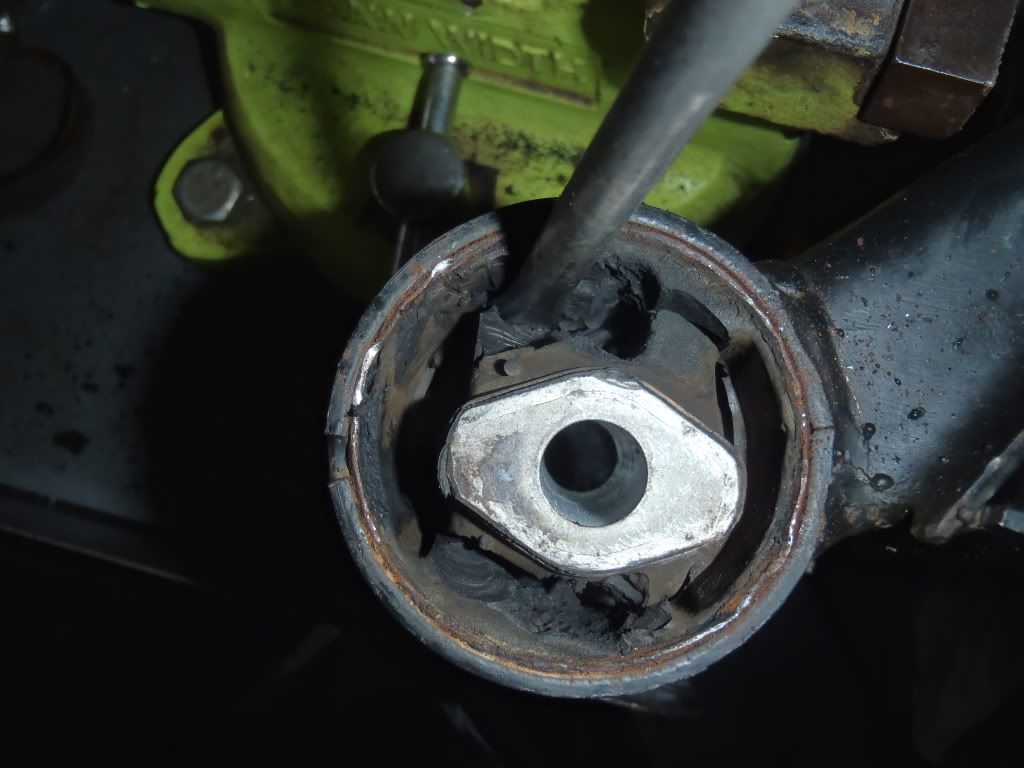
you can try to press these out if you have the proper tools. if not, reach down hold tight because, WE ARE GOING IN!! remove the cross member from the diff and place it in the vise. not too tight as you can bend it. then drill into the sides of the rubber of the old bushings to weaken the whole bushing. once a hole is drilled you can then take a screw driver or something similar to dig and pry as much rubber as you can out. should look something like this...
![Image]()
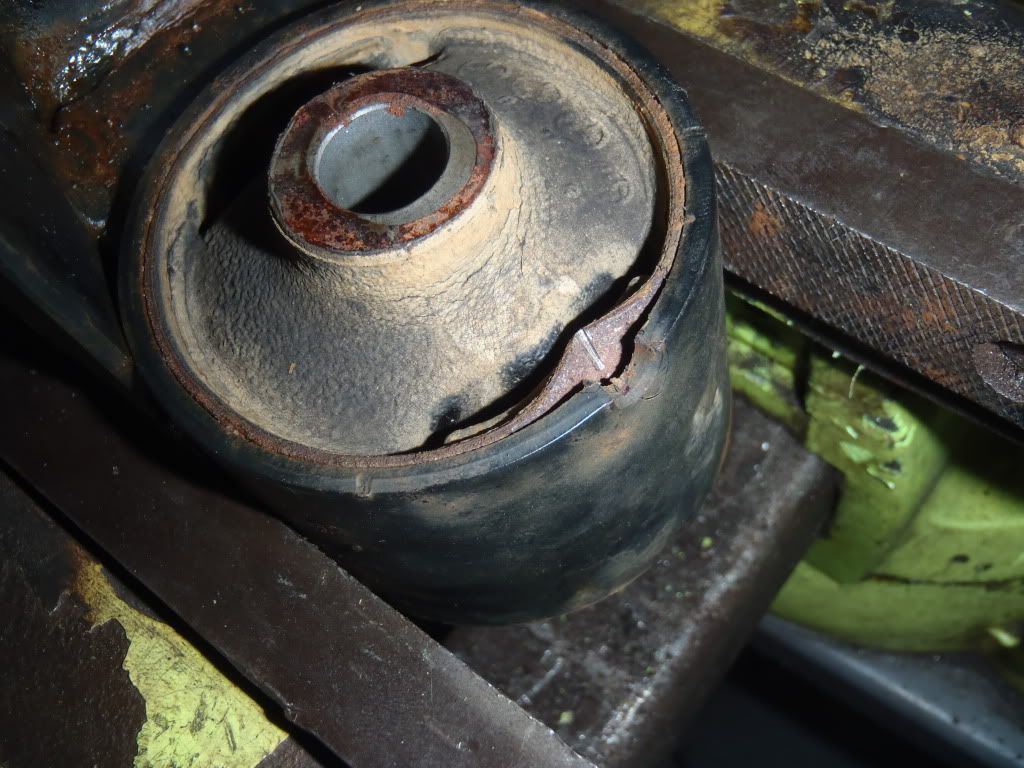
then find the notch in the cross member and start to hammer and pry out the metal bushing sleeve out. you want to cut this sleeve with a saw zaw to further weaken it. as you can see i found out about this notch after i cut out the first bushing.
![Image]()
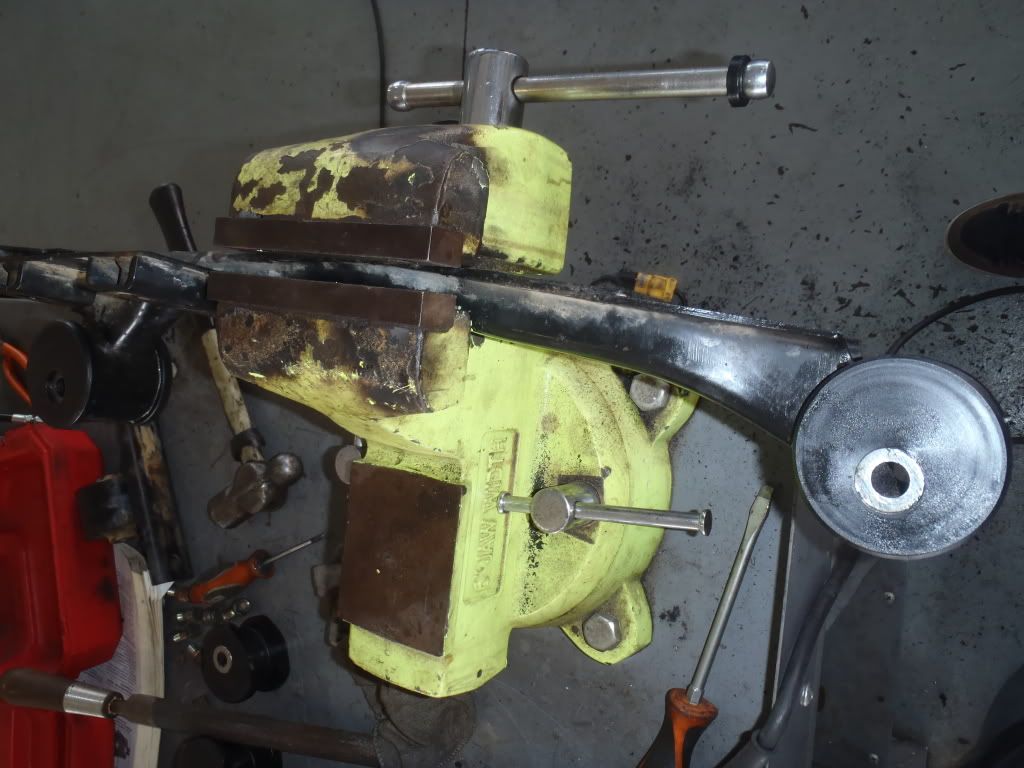
the bushings in the cross-member go in with the metal sleeve in the up position! grease these up and hammer or press them in ensuring that both sides of the bushing are aligned with each other before seating them fully. here is what the cross-member should look like.
![Image]()
now unbolt that bracket that we left on the frame. and get that bushing out. you should be good at this by now hugh??? the bushing in the bracket sits with the metal sleeve down! once the new bushing is in check for proper fit for ease of installation. should look like this.
![Image]()
![Image]()
now replace the bushing on the front of the diff itself. the bushing on the front of the diff sits with the metal sleeve up! you can see it in this pic
![Image]()
-now bolt the cross-member back on to the diff. 65 ft lbs. now its time to re-install the whole assembly.
-with a jack and some extra hands put the front of the diff in the air (same position as when it was lowered) and raise it in front first, then back. your going to have to pry and wiggle this into place placing whatever bolt lines up first in its slot to help relieve some of the weight. hopefully you lined up the bushings well enough the first time for all the bolts to slide in without having to take the diff back down to re-adjust them. (did this once and almost lost my help because of it) torque the bolts 65 inch lbs.
-fit and bolt on the bracket. i torqued all these bolts to 65 ft lbs. the ones i could reach any way.
![Image]()
-connect cv joints back to diff using thread lock 33 ft lbs
- connect drive shaft to diff 64 ft lbs
- reconnect diff breather hose
now all that's left is to gather up what ever bit of sanity you have left. and take it for a test drive.
Tools-from what i can remember
12mm wrench
14mm wrench
long needle nose pliers
17mm wrench
17mm socket
3/8 ratchet
vise
screw driver to pry with
drill and drill bit to rip apart the old bushings
saw zaw to cut out the bushings
hammer
wire or zip ties to secure drive shaft and cv joints
blue thread lock for drive shaft and cv joint bolts
breaker and cheater bar
and if possible at least one extra set of hands
match mark all flanges
first un-bolt the drive shaft that connects to the front diff and secure it with some wire.

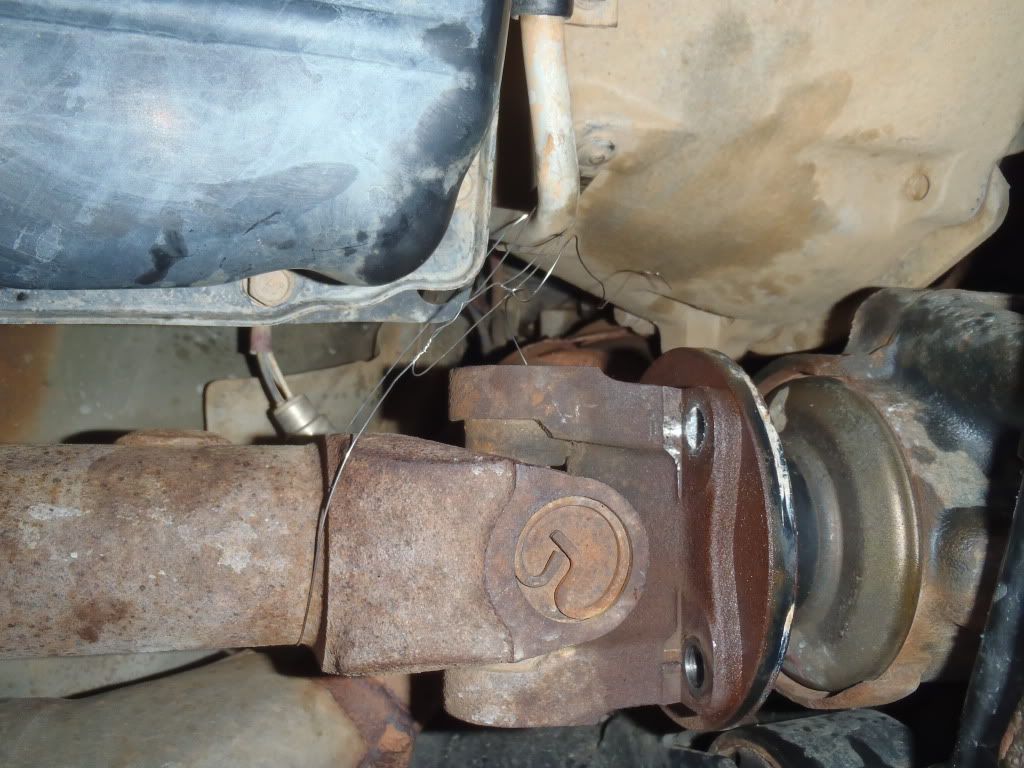
then unbolt the driver side and passenger side cv joints from the diff, and secure them as well. in the pics i secured them to the tie rods but later found that the uca was a better option.


I forgot a picture for this one but remove the front diff breather hose. this is where the long needle nose pliers come in. the hose is easy to spot and not too difficult to get to.
next i unbolted the cross member behind the front diff (two bolts, one on each side) don't take the nuts out just yet to keep the whole assembly secured. you may need the cheater bar for these.
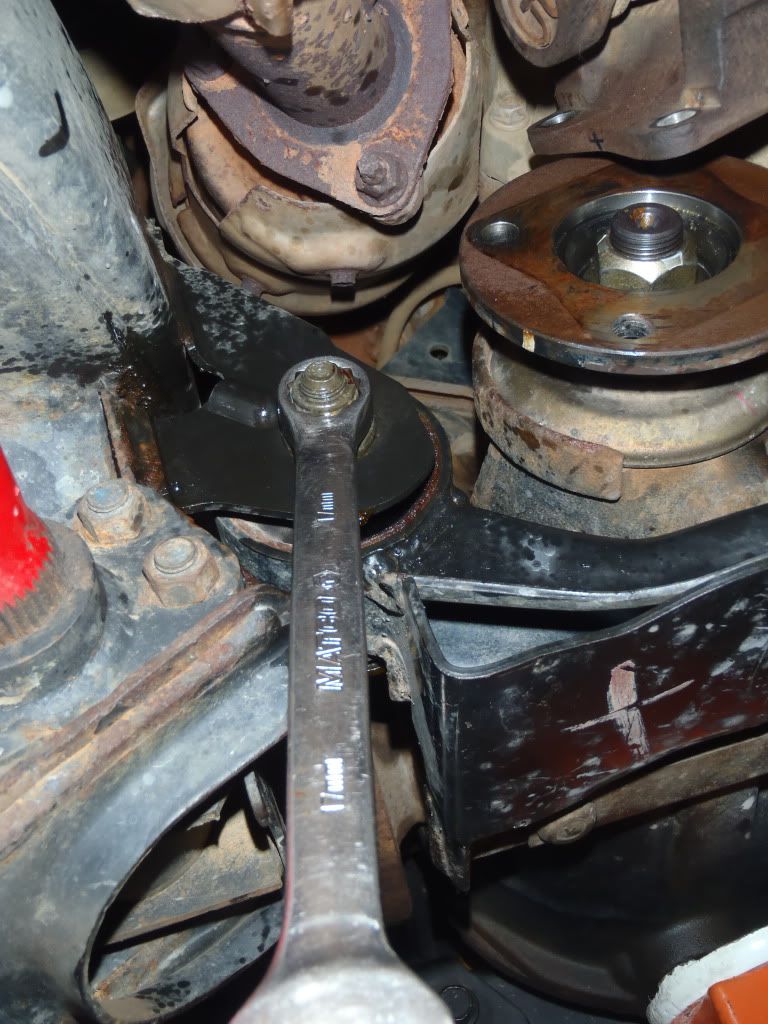
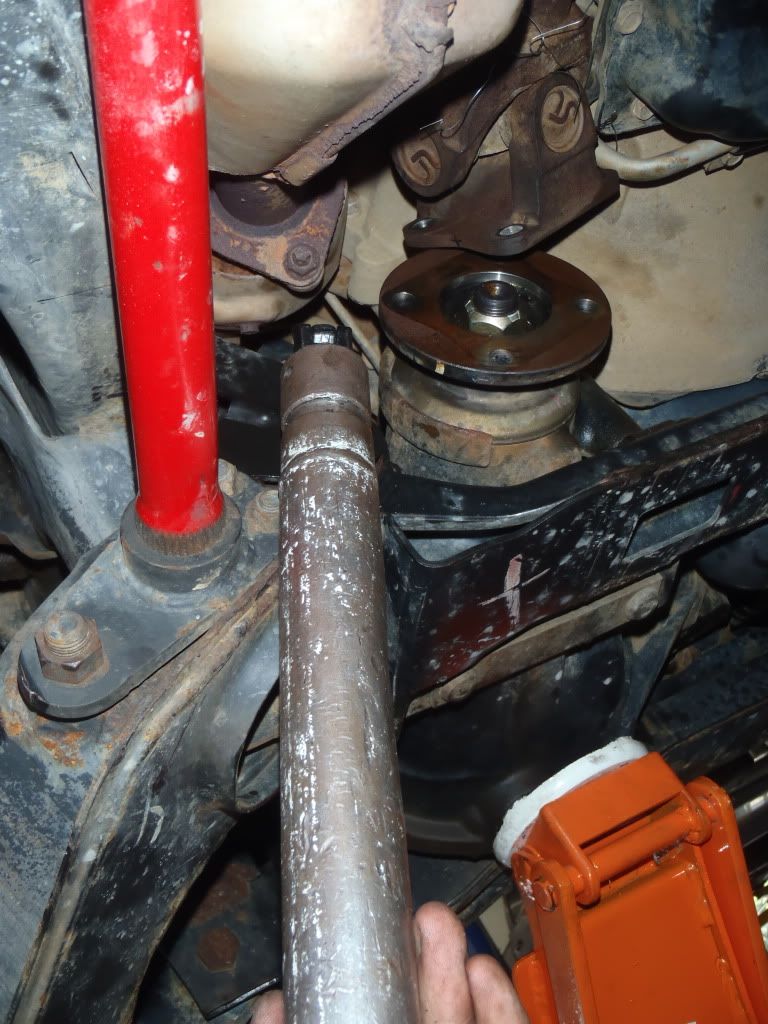
from here its a good idea to support the diff, its unlikely to fall out of place but this could hurt if it falls on any part of your body.
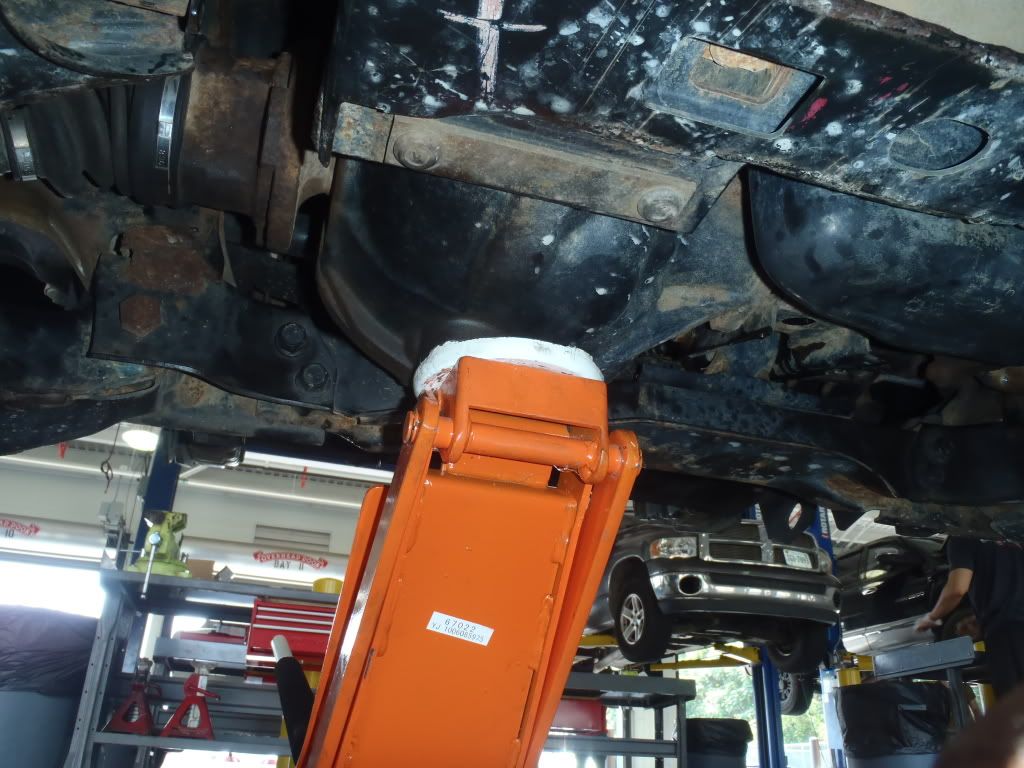
looking from the front of the vehicle the bracket attached to the left of the diff needs to be removed. i unbolted it from the diff and left the bracket on the frame and it worked out fine.
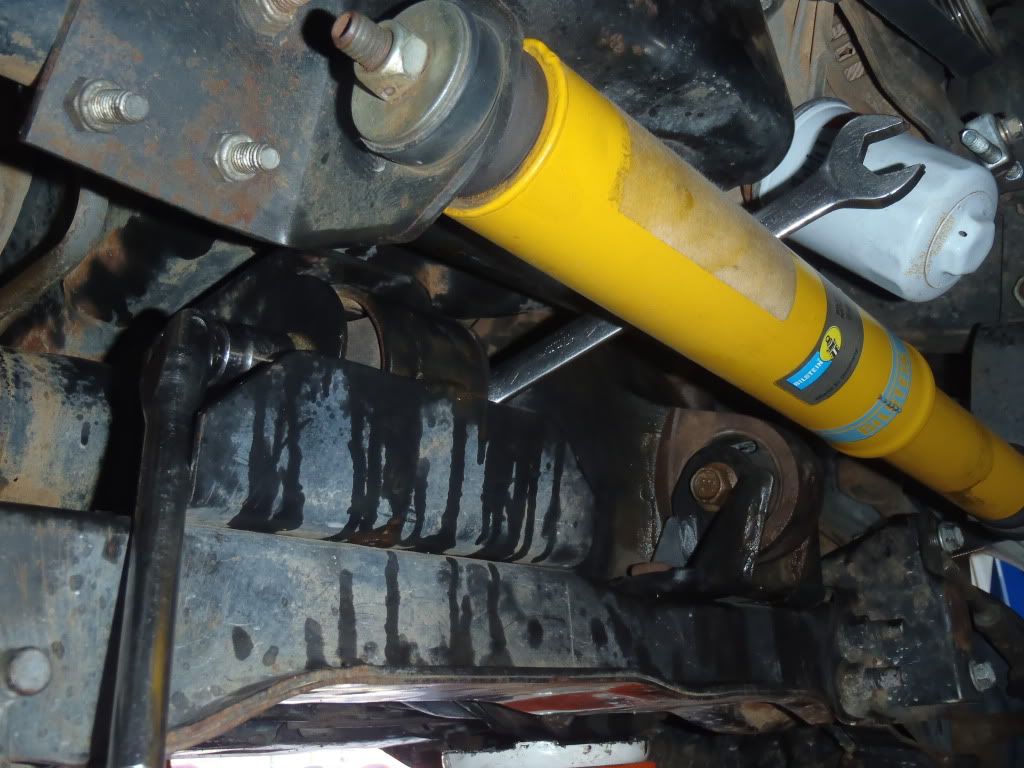
now remove the the bolt directly in front of the diff. i left the bracket on this one as well.
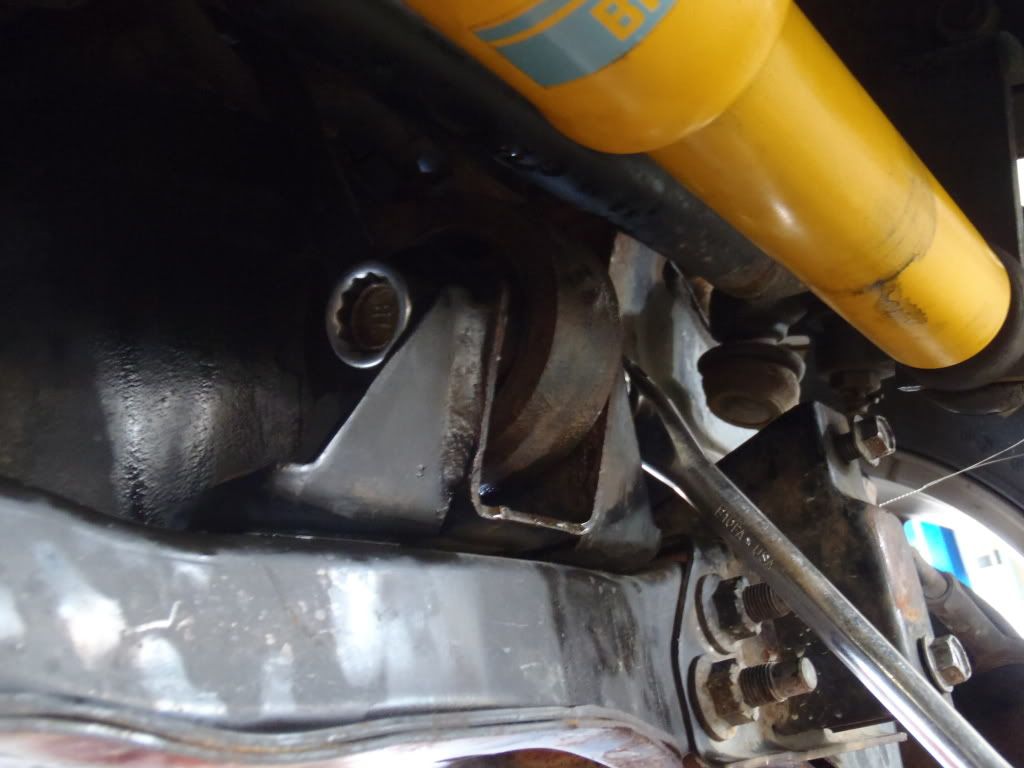
now carefully remove all the bolts while keeping a close eye on everything to ensure the assembly does not come crashing down!
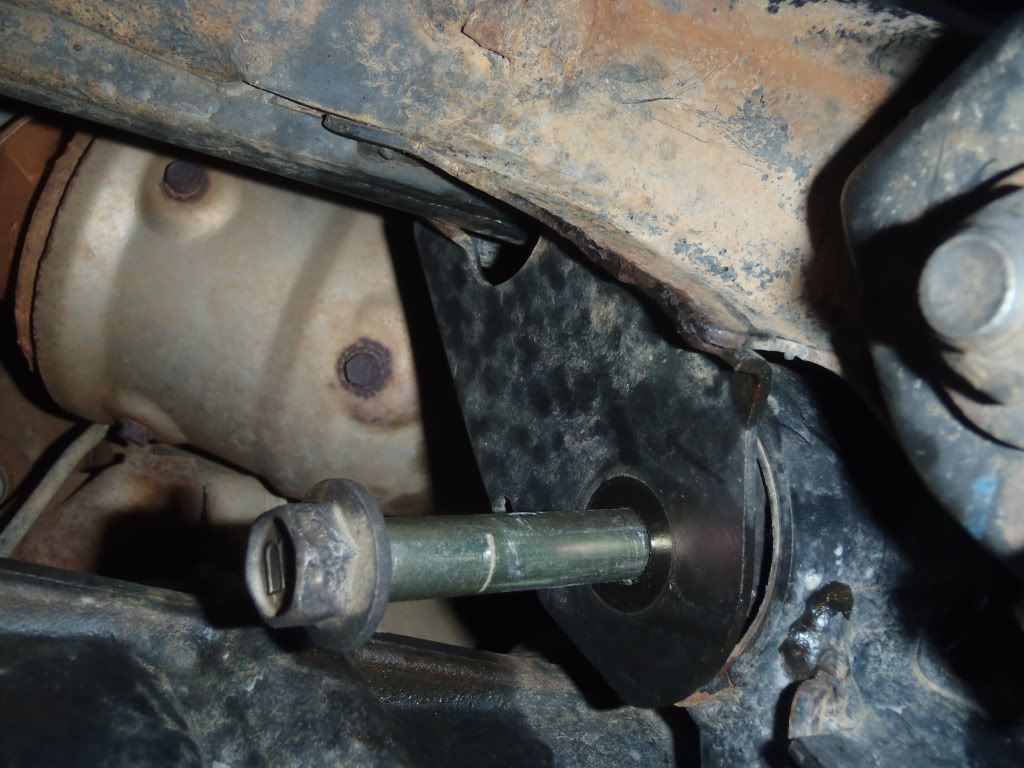
to remove the diff from its resting place the rear end of it is going to have to get lowered almost to the ground while moving the whole assembly backward.
it doesn't seem to have a center of gravity so try to get some help lowering it. here she is once removed! the easy part is over!
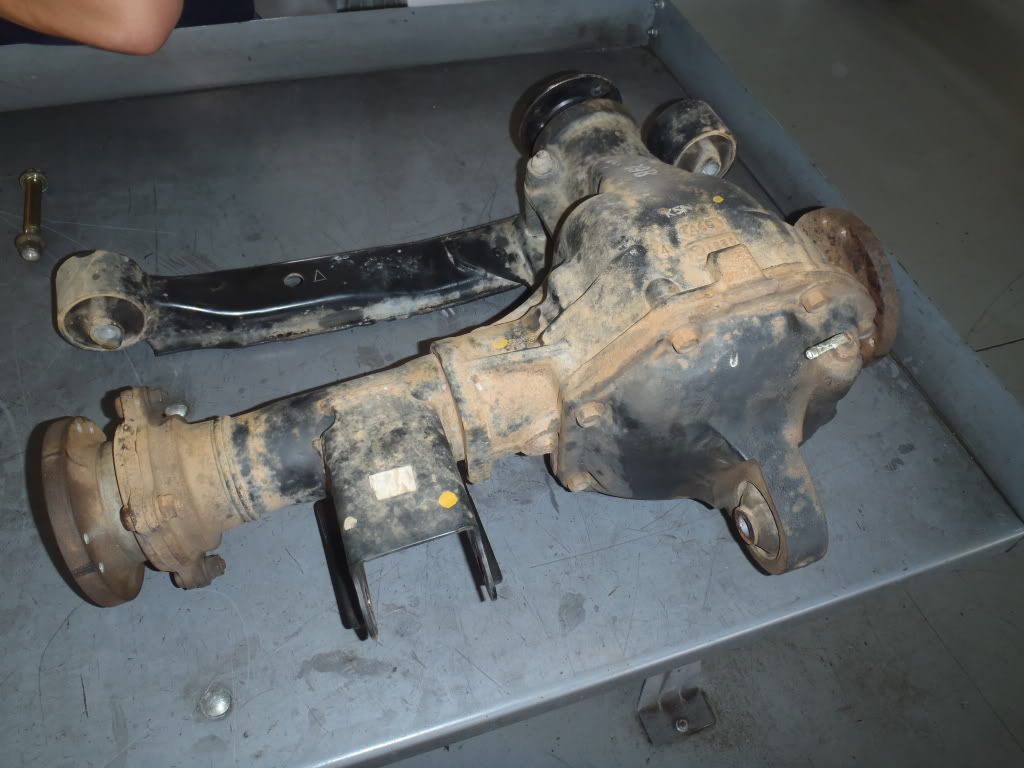
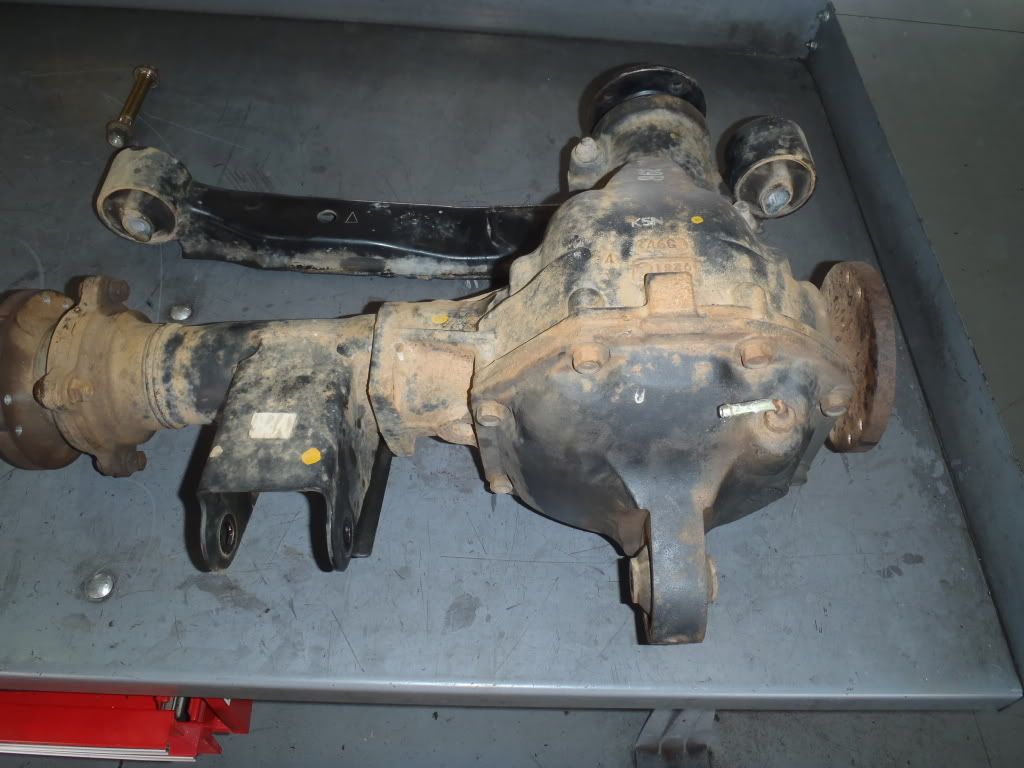
you can try to press these out if you have the proper tools. if not, reach down hold tight because, WE ARE GOING IN!! remove the cross member from the diff and place it in the vise. not too tight as you can bend it. then drill into the sides of the rubber of the old bushings to weaken the whole bushing. once a hole is drilled you can then take a screw driver or something similar to dig and pry as much rubber as you can out. should look something like this...
then find the notch in the cross member and start to hammer and pry out the metal bushing sleeve out. you want to cut this sleeve with a saw zaw to further weaken it. as you can see i found out about this notch after i cut out the first bushing.
the bushings in the cross-member go in with the metal sleeve in the up position! grease these up and hammer or press them in ensuring that both sides of the bushing are aligned with each other before seating them fully. here is what the cross-member should look like.
now unbolt that bracket that we left on the frame. and get that bushing out. you should be good at this by now hugh??? the bushing in the bracket sits with the metal sleeve down! once the new bushing is in check for proper fit for ease of installation. should look like this.
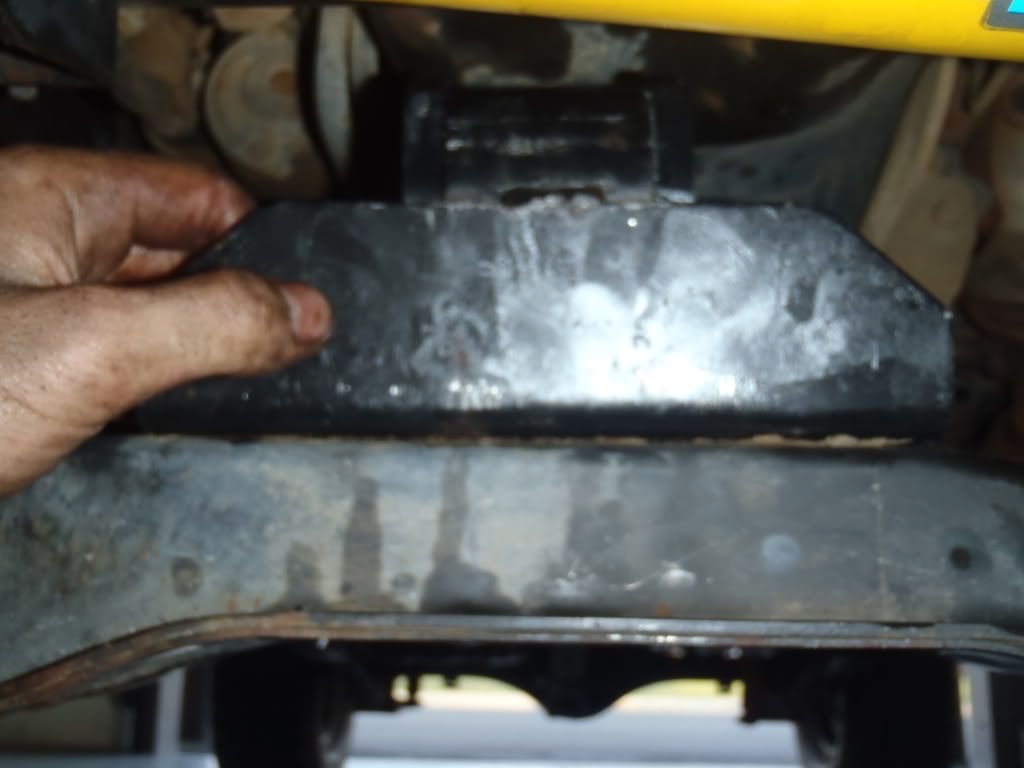
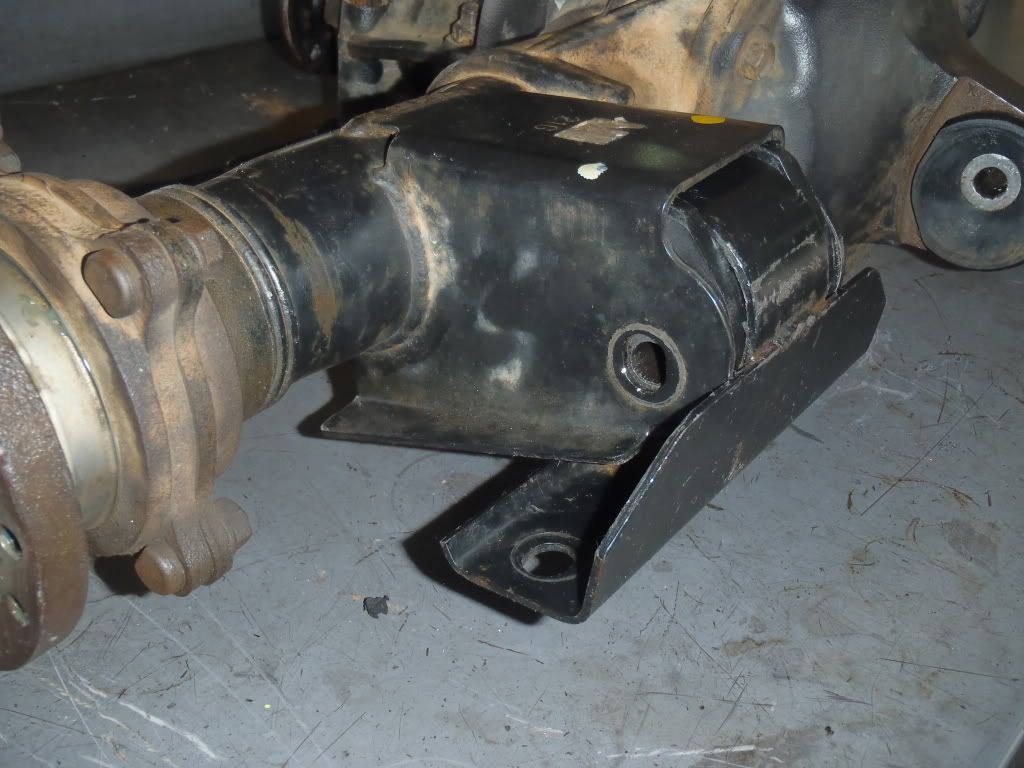
now replace the bushing on the front of the diff itself. the bushing on the front of the diff sits with the metal sleeve up! you can see it in this pic

-now bolt the cross-member back on to the diff. 65 ft lbs. now its time to re-install the whole assembly.
-with a jack and some extra hands put the front of the diff in the air (same position as when it was lowered) and raise it in front first, then back. your going to have to pry and wiggle this into place placing whatever bolt lines up first in its slot to help relieve some of the weight. hopefully you lined up the bushings well enough the first time for all the bolts to slide in without having to take the diff back down to re-adjust them. (did this once and almost lost my help because of it) torque the bolts 65 inch lbs.
-fit and bolt on the bracket. i torqued all these bolts to 65 ft lbs. the ones i could reach any way.

-connect cv joints back to diff using thread lock 33 ft lbs
- connect drive shaft to diff 64 ft lbs
- reconnect diff breather hose
now all that's left is to gather up what ever bit of sanity you have left. and take it for a test drive.


