Nissan XTerra Forum banner

emmdock's '02

8.4K views 30 replies 17 participants last post by  Jmac289GT  
#1 · (Edited)
I finally did something that counts, so I decided to start a build thread. My body lift is on, but since I torqued the bolts as it got dark out tonight, I don't have any pictures of it finished. I do, however, have pictures of what half a body lift looks like: the driver's half - it averages out to a 1" body lift, right?

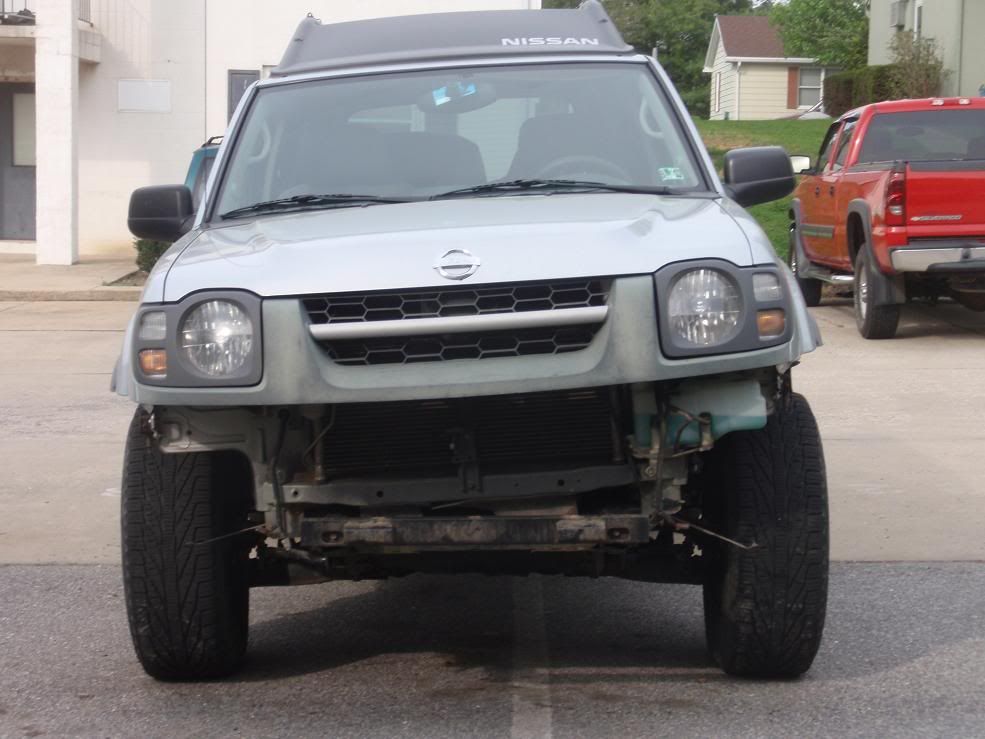
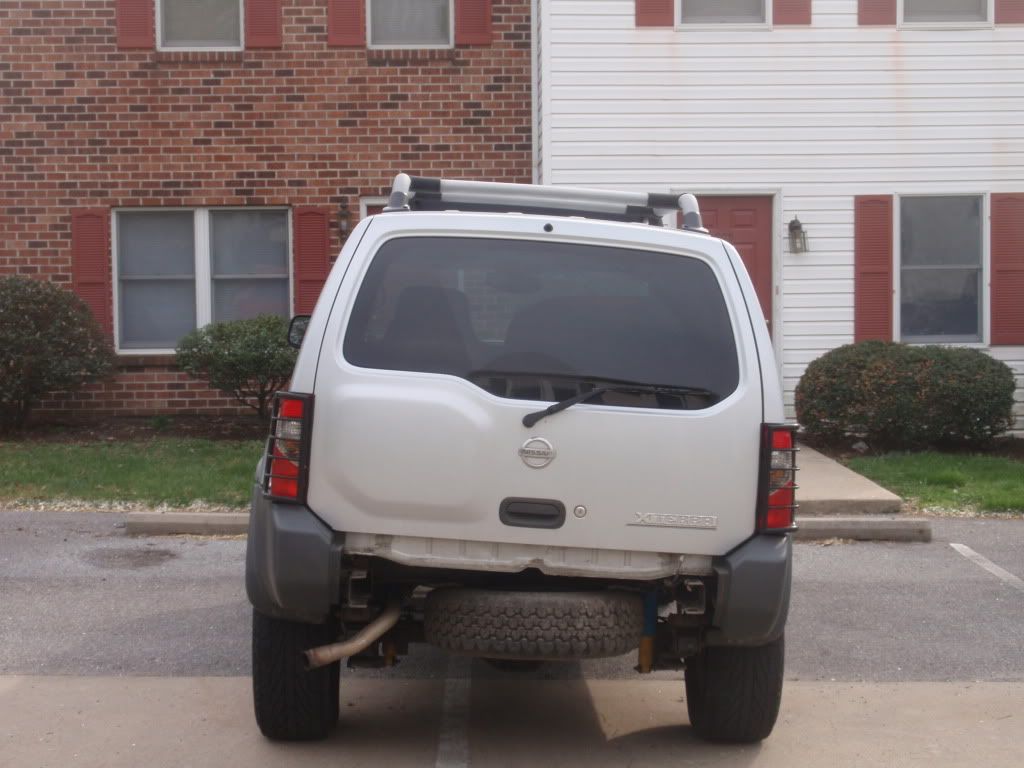
I won't be putting the cowcatchers back on when I reinstall my bumpers. They came with the X and I never had the motivation to remove them until they were in my way for the body lift.

In addition to this, I've done Bilsteins (the ones for a 3" lift off 4x4parts) and an IAB, and have PML shackles in my living room. The rear sway bar, side steps, and mudflaps are gone, and I have a Viper 5901 alarm/remote starter, which was awesome this winter!

Next, I'm looking to go with 33x12.5 interco trxus m/t tires on 15" soft 8s with 4.75" backspacing.


Image

Image


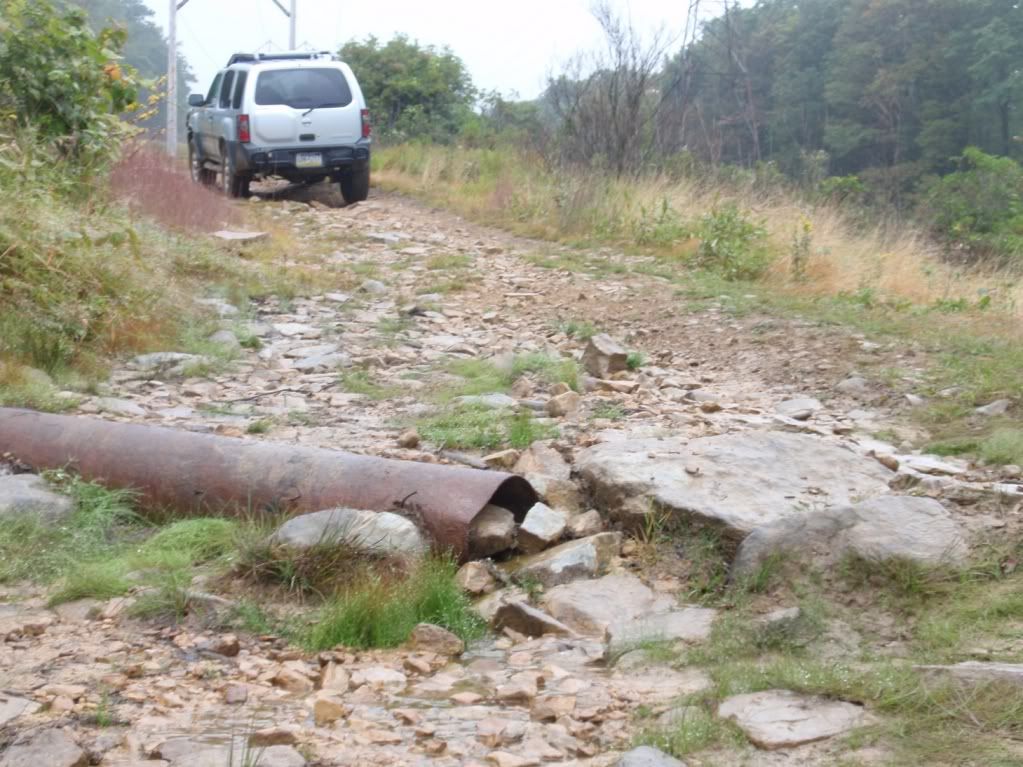
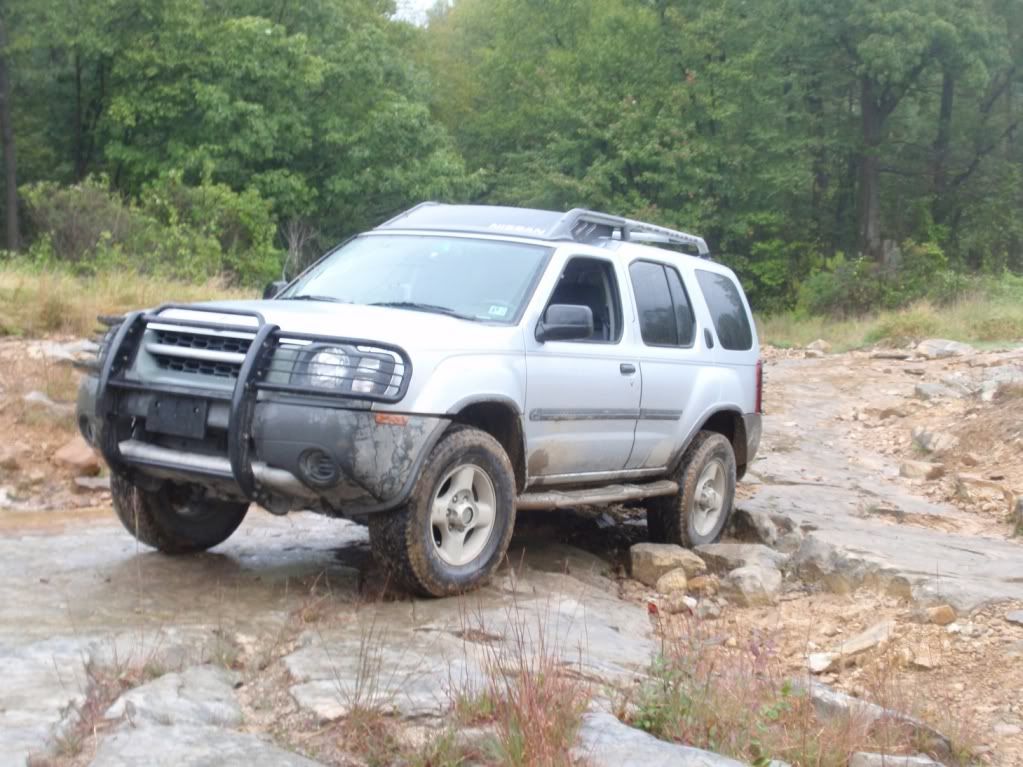
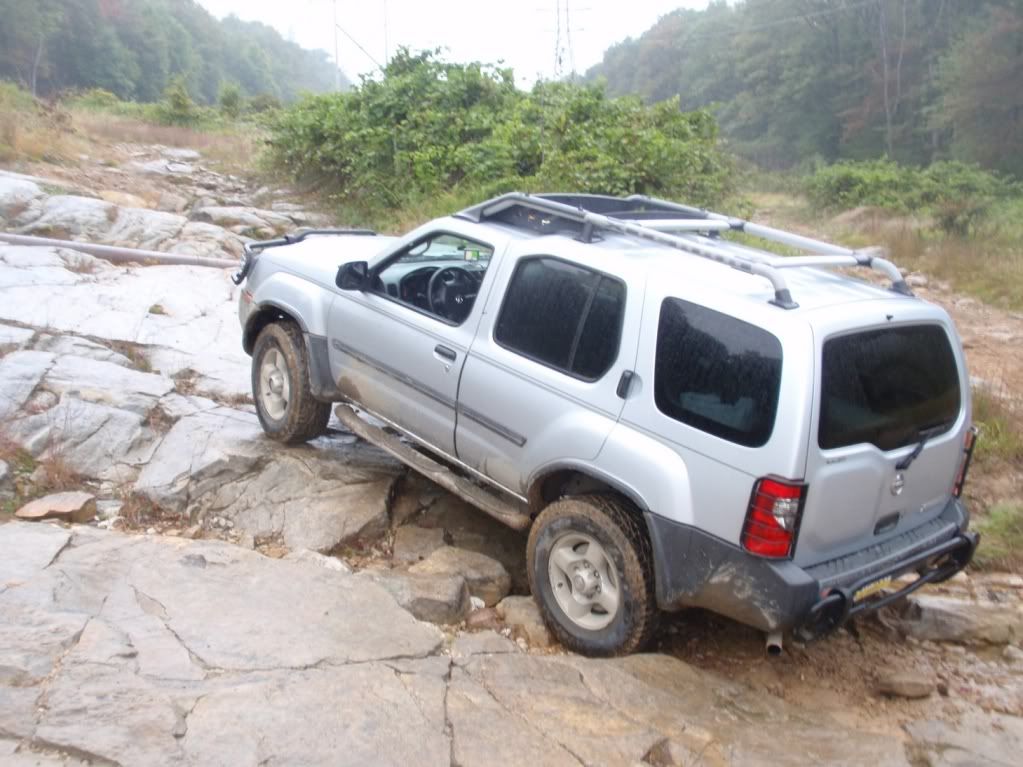
Pics of the X as-purchased - On this (my first) outing, I crunched a step rail into the rocker panel and flipped up a large stick/small long (we decided it's called a stog) into the front passenger's door enough to put a nice crease in the panel. That really startled my passenger, who would have been stogged in the head had he not been saved by my sacrificial door. Scraped some rocks a bit, and overall found out what this thing is really capable of with crapass all season tires. Not a bad trip, hanging with a pair of 4" lifted TJs w/ 33" M/Ts.
Image

Image

Image
 
#2 · (Edited)
I made a light bar and installed my KC Daylighter spots today. I ran the power and ground wires through a hole I drilled in the roof with guidance from a thread I found here on ClubX.

I made the bar from 1 1/4" x 1 1/4" 12 gauge angle I found at Lowe's. It had ~3/8" holes every inch, so I had to modify one for attachment to the roofrack because the hole spacing worked out to 36 5/8". I also had to drill out the holes to 1/2" where I wanted to put the lights. I drilled a couple extra in case I add more lights. The holes were good because it gave me something to ziptie all the wires to once I was done. I put zipties every 3rd or 4th hole. I ground off about 2" from the front flange and put a small chamfer on there to clear the roofrack rail. I coated it with two coats of black krylon fusion and let it dry while working on wiring, so it was ready when I was ready to install it.

I tapped into an empty fuse receptacle in the cab fuse panel and fused the wire right away with KC's provided fuse. The switch came with a mounting piece that I didn't want to use because it wouldn't fit anywhere well and didn't seem like it'd feel solid. I put it near my left knee, in a blank switch plate next to the red "security" blinking lamp. You'll see the pics below.

Before removing the wind fairing/gear basket, mark the roof rack rail where you're going to run the wires, so you don't have to put everything back on to find the right spot... Don't ask me how I learned that tip...

There were lots of leaves trapped under the wind fairing:
Image


Test fit of the bar
Image


Closeup of test fit. Note the small chamfer I needed to clear the plastic of the basket.
Image

Image

Image

Image


I loosened up all 3 driver's side mounting points of the roofrack. I ended up taking that whole rail off the roof to run the wires through it.
Image

Image


These pics show how I modified the existing panel to use the KC switch.
Image

Image

Image

Image


Since the body lift, these are now officially drying racks for painted parts...
Image


This is the rubber base of the roof rack. I'm holding the cutters where I removed that material and ran the wires.
Image


Now the part where the weary wuss out: drilling a hole in the roof. I chose to drill near the top of the rain channel, towards the outside of the truck, thinking most rain will be in the gutter or coming to it from the center of the roof.
Image


This shows how the wires come into the cabin. Removing the A-pillar cover and sun visor are necessary to get in there and then run the wires down to the fuse panel area. I globbed clear-drying all-purpose adhesive&caulk on the outside and inside of the hole once the wires were through and the roofrack was ready to be bolted back in place. The stuff in that link comes in an oversized toothpaste-style tube so it's easier to work with and you don't need a caulk gun.
Image


Looking up at the roof from the interior This shows the wires going through the hole I drilled.
Image


This hose in the A-pillar is how washer fluid gets to the rear, if you're curious.

Again, the wires coming into the cabin. The top surface of the headliner is the white blur along the bottom and left of the picture.
Image


And finally, the finished product!
Image

Image

Image

Image
 
  • Like
Reactions: chuckamazuk
#5 ·
Yep, I forgot to mention that. I used this adhesive&caulk. It comes in a toothpaste tube style so you don't need a caulk gun. Goes on white, dries clear, but it's all hidden anyway. I'll add that to the original post to make it more visible to the next guy to read it.
 
#8 ·
Surfer, I put a light punch in the center of the blank, then stepped up through 3 or 4 bit sizes to get the hole big enough. I was very careful because I knew I didn't have a spare. If I end up needing a second switch for anything, I'll probably ditch the blinking "security" light and buy another blank to put in its place. That might be an easy find in a junkyard or from someone parting out an X.
 
#12 ·
Surfer, I put a light punch in the center of the blank, then stepped up through 3 or 4 bit sizes to get the hole big enough. I was very careful because I knew I didn't have a spare. If I end up needing a second switch for anything, I'll probably ditch the blinking "security" light and buy another blank to put in its place. That might be an easy find in a junkyard or from someone parting out an X.
just a suggestion but lowes has gb 120v in-out rocker switchs that fit perfectly into the square hole. they look much better.
 
#13 ·
Link or pic? I don't know what you mean, blk.
 
#16 ·
They're saw-requiring, hammer beating, plastic removing 33x12.5-15 Goodyear Wrangler MT/R w/ Kevlar. Did the PML right before putting them on (Had the body lift on for a month or two). I figured go big or go home with the tires...
 
#17 ·
They're saw-requiring, hammer beating, plastic removing 33x12.5-15 Goodyear Wrangler MT/R w/ Kevlar. Did the PML right before putting them on (Had the body lift on for a month or two). I figured go big or go home with the tires...
They Look Great!
Image
 
#19 ·
hecka bad !!! Shrock next ? Arb ect
That'd be nice, but I'm not looking to spend that kind of money right now... I took the plastic cover off of the front bumper because it rubbed and remounted the metal part.
 
#20 ·
yea i hear ya . Im waiting i hella want a winch bumper .... so let the saving begin but wait im ordering my 3inch sl components next week damn !!! ha ha well i think any mod is a good mod so it doesnt have to be expensive hell you could fab your own if you wanted.
 
#22 ·
thats looks real nice man!
 
#23 · (Edited)
A quick update... I'm running the stock front bumper with the plastic completely removed instead of trimmed. I want to cut off the "wings" by the tires; I plan on buying a sawzall soon to take care of that. I just bought my first house 3 weeks ago so the garage needs to be filled with tools!

(Disclaimer: I didn't get over the rocks. I got to the top crest and bellyed out. My buddy with me said I probably could have if I gassed it at the right time, but I was too worried about my oil pan. He has a 4" suspension lifted TJ with 33s and makes it over about 1 out of every two times he tries. He scrapes his frame or belly pan with the short wheelbase he's dealing with, so mine's definitely worse.)

Image

Image

Image

Image

Image
 
  • Like
Reactions: M3C.CA
#25 ·
Thanks, I see you're at about the same stage with yours - A locker would have gotten me over the rocks. The 4x4 really helped me get up on them, though.... I'm hoping to pick up an oil pan skid before Rausch July 17th. I'll be much more ballsy without that worry.
 
#26 ·
Image


dude it looks like your about to slam your rocker panel.... time for some sliders.