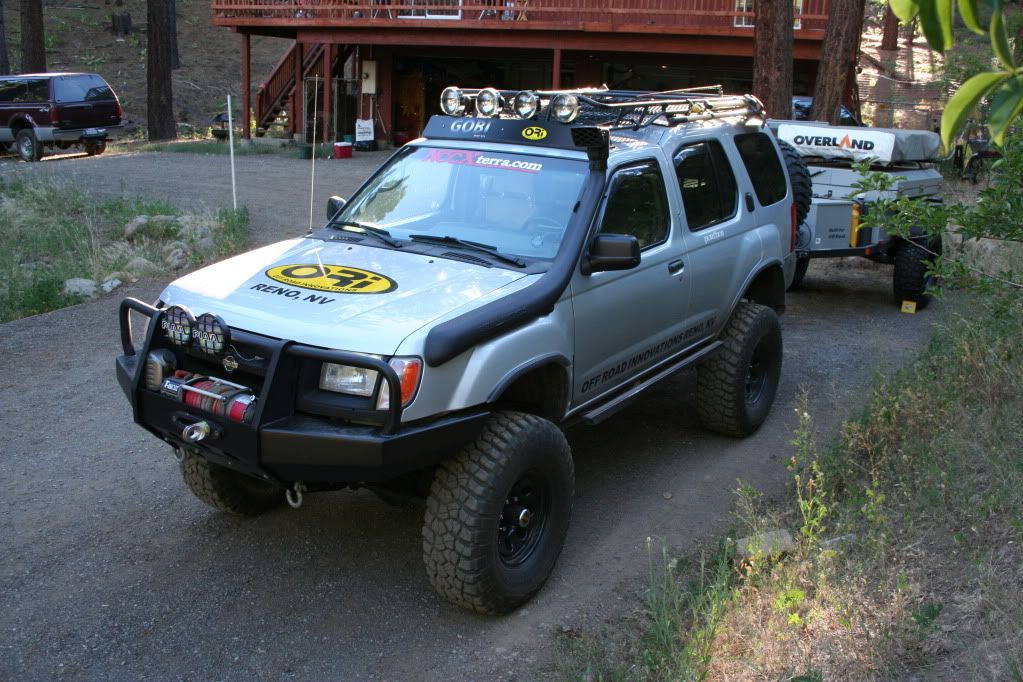
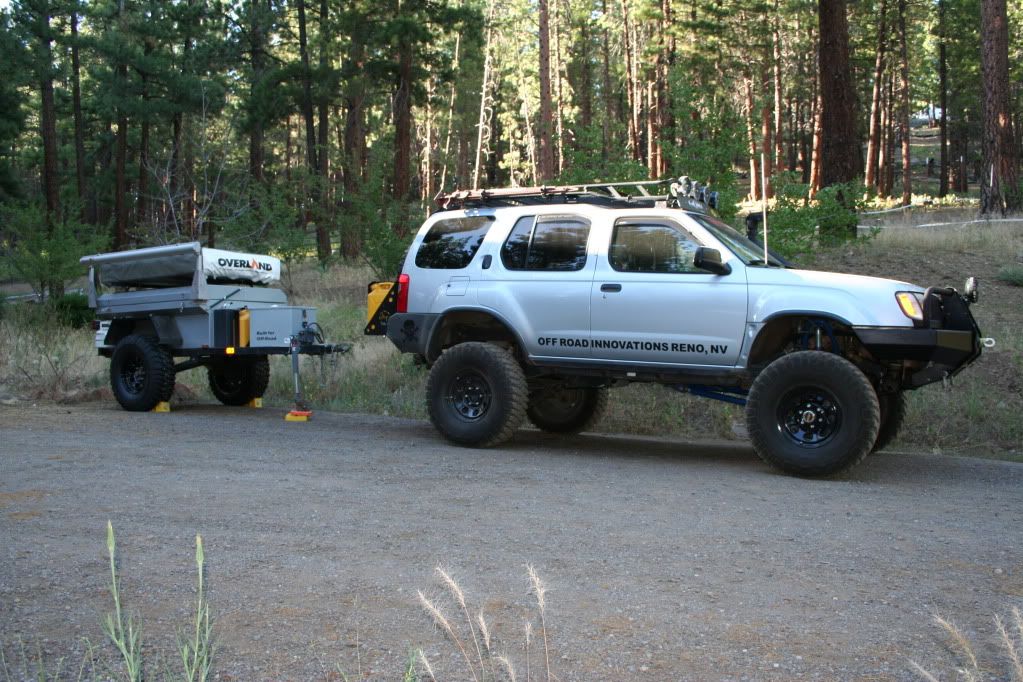
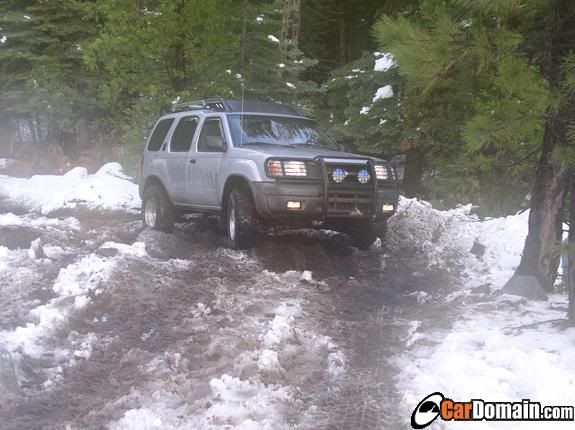
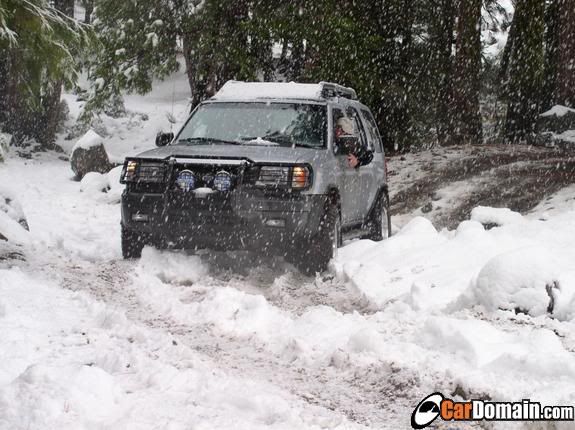
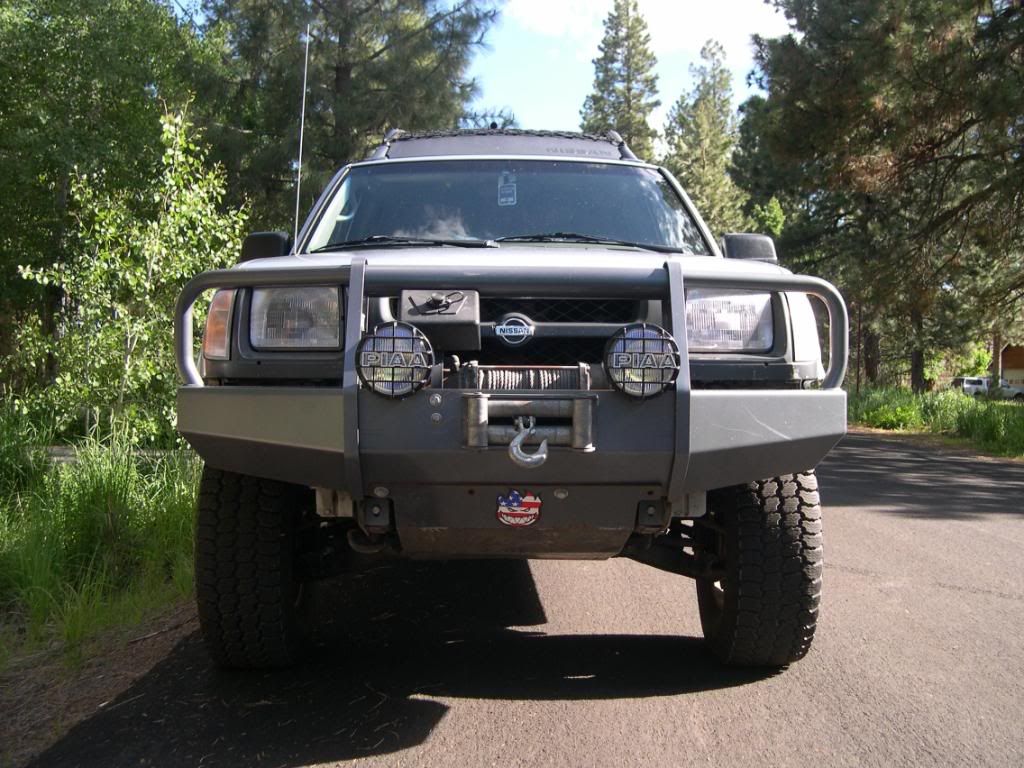
I am not that active on the site, but figured I would post up a build thread one my X for those who haven’t seen it on other boards. I did lose some of my build photos when my laptop crashed last month, so I have been trying to take more as I need them. Now, on to Pepe` my little mule. My goal for this truck was to build an expedition class vehicle that could also handle rough trails like the Rubicon and Four Dice. I have to say I think I did it.
Vehicle = 2000 Nissan Xterra XE
Color = Silver Ice
He was stock when I bought him, plus a WAAG Brush Guard. This is the only photo I have of it then. (Also happens to be the trip that started it all, pushed the stock step-rail into the rear tire thus making me want sliders. That was the end of the beginning)
![Image]()
![Image]()
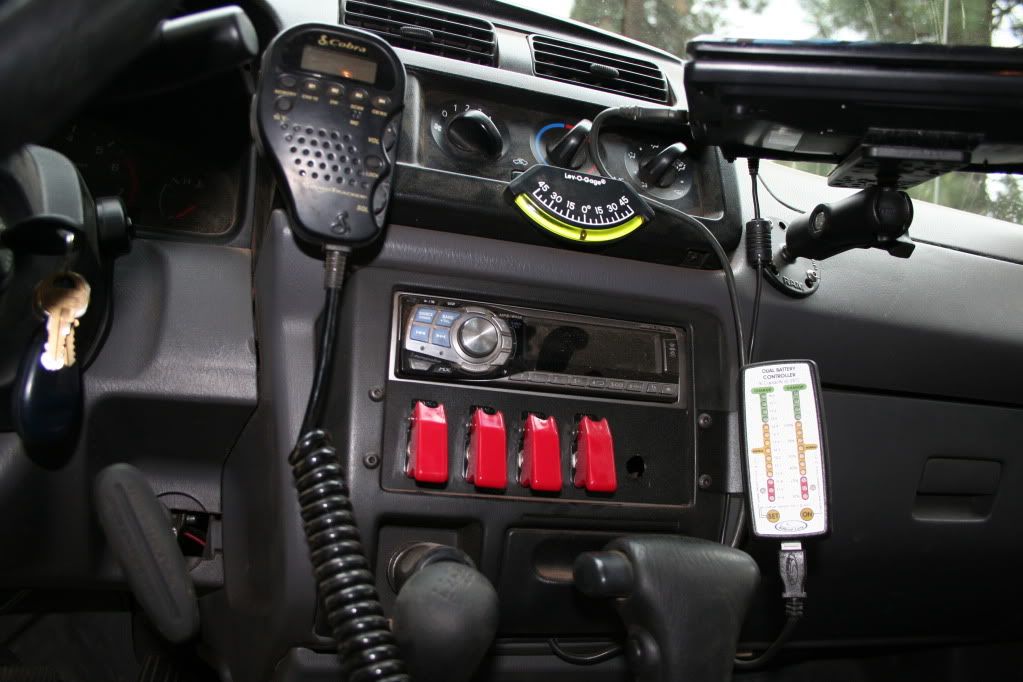
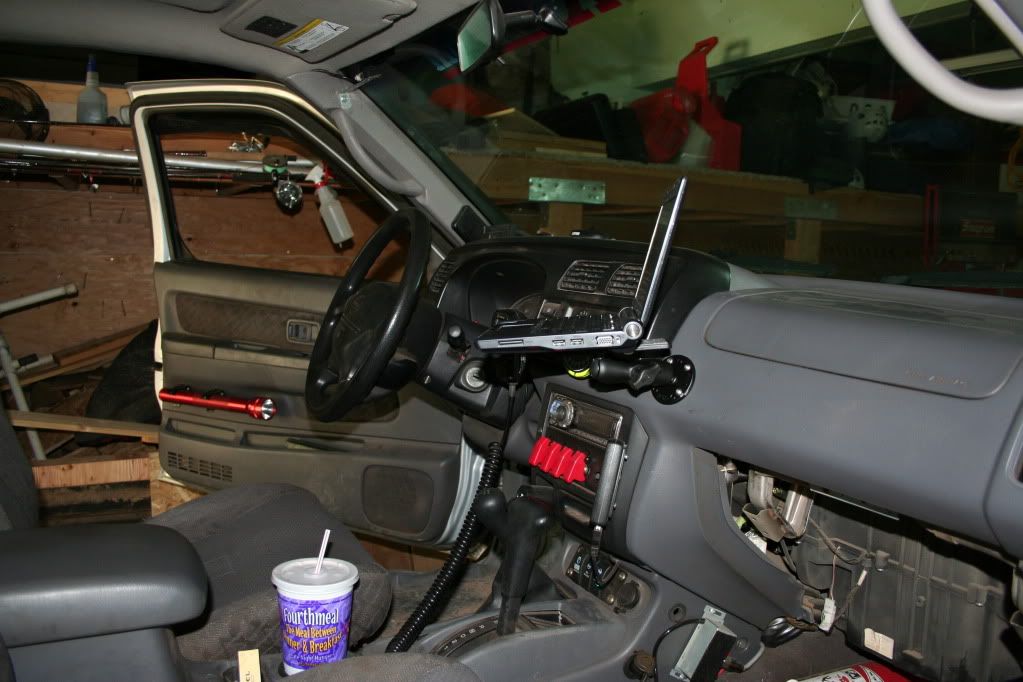
Interior:
The dash has gone through a few changes over the years but I am happy with the current setup (for now) I have a standard Alpine head unit. This runs to an 800 watt Infinity amplifier running to 2 sets of Polk Audio speakers. Below the stereo is a small switch panel I made. The switches run various light, fans and such. To the right of those is a National Luna dual battery monitor and to the left is my Cobra 75 CB.
![Image]()
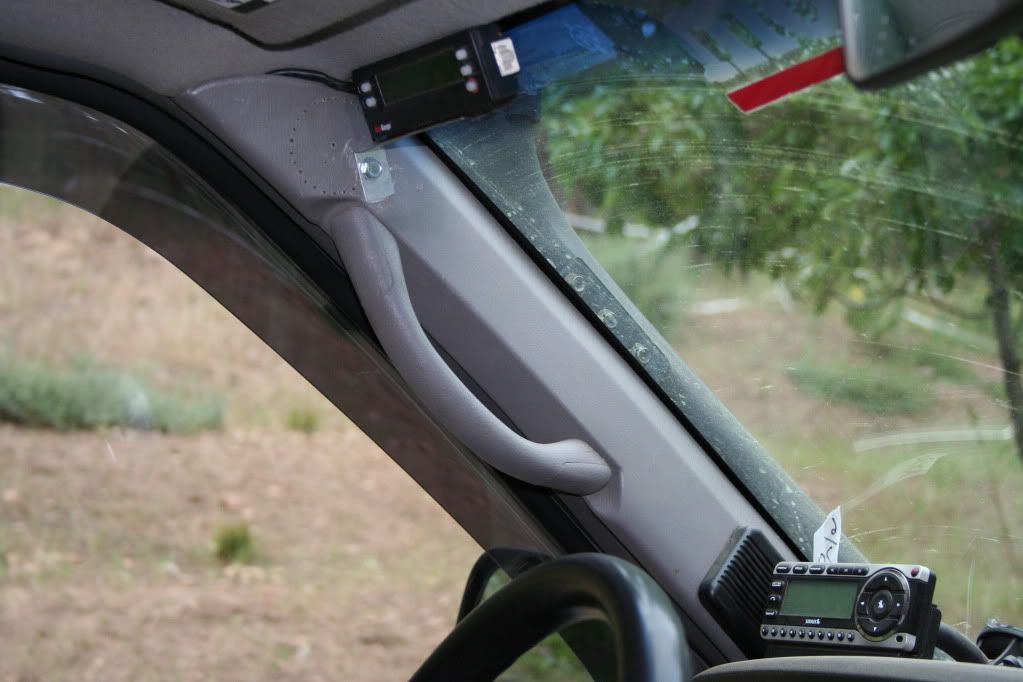
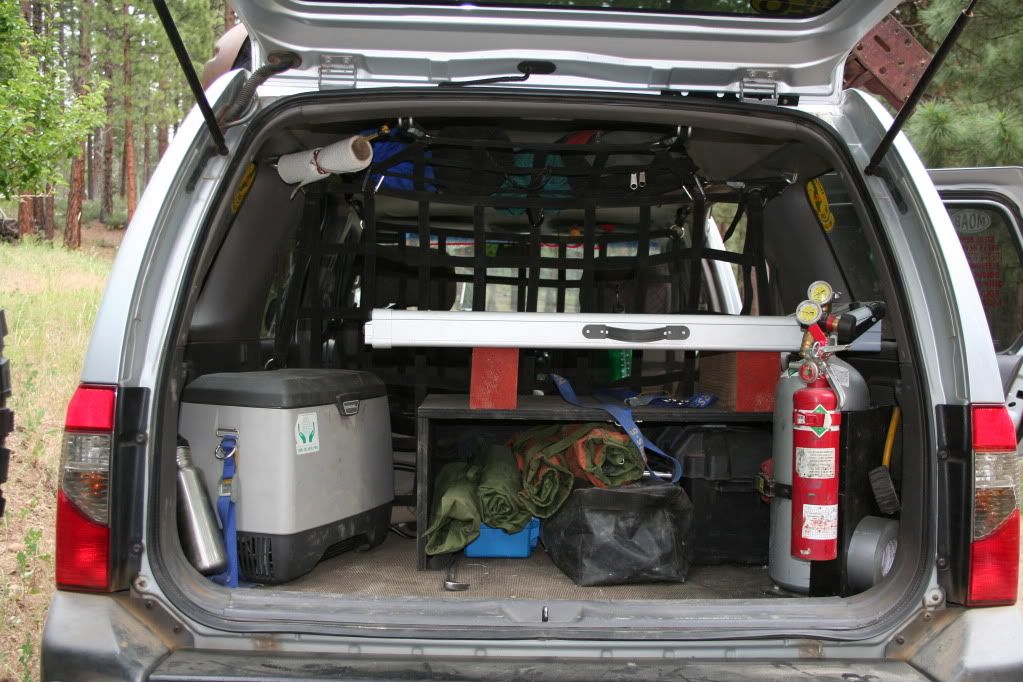
Throughout the rest of the cab you can find a Sirius satellite radio, Scangauge II, fire extinguisher and mag-light all within reach.
![Image]()
My first GPS was a Garmin iQue 3600. This unit was nice. It has a bigger color screen and a good size memory to hold lots of trails and maps. ( sorry, no photo of this one) However it is very hard to see in the sun, and although the screen is big for a GPS unit, it was still too small for my eyes.
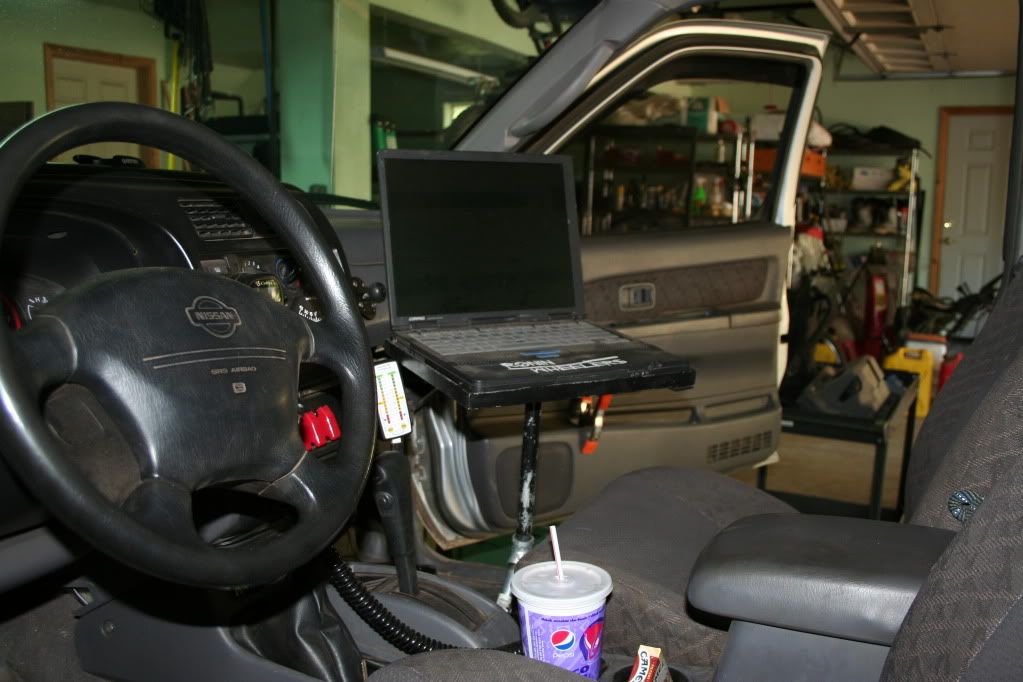
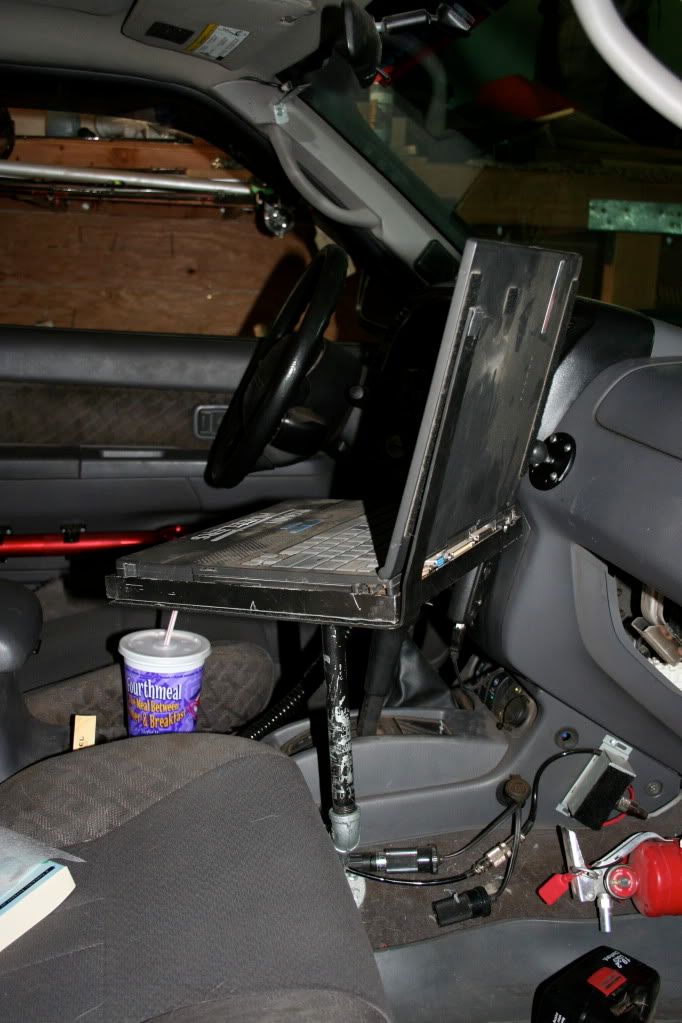
Second GPS Compact Armada running Garmin GPS 18 with a USB puck antenna. I got this because I wanted a bigger screen to view the maps on. This is mounted on a homemade mount.
![Image]()
![Image]()
This worked pretty well with two major drawbacks. First it takes up WAY too much space. I can’t have a passenger when it is in the cab. Second, while the big screen is nice it sucks in the sun. Thus I can't read it on bright days. I was going to mount it under the passenger seat and find a monitor to mount somewhere but I could not find the right size monitor at a good price. So, thanks to lots of web searching I found the perfect solution.
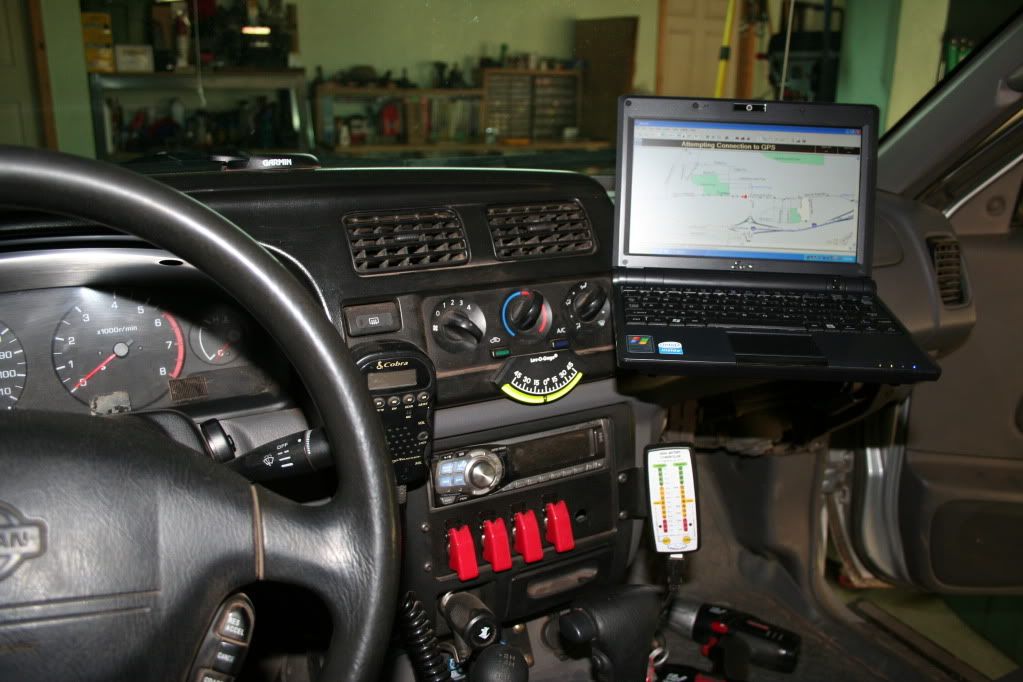
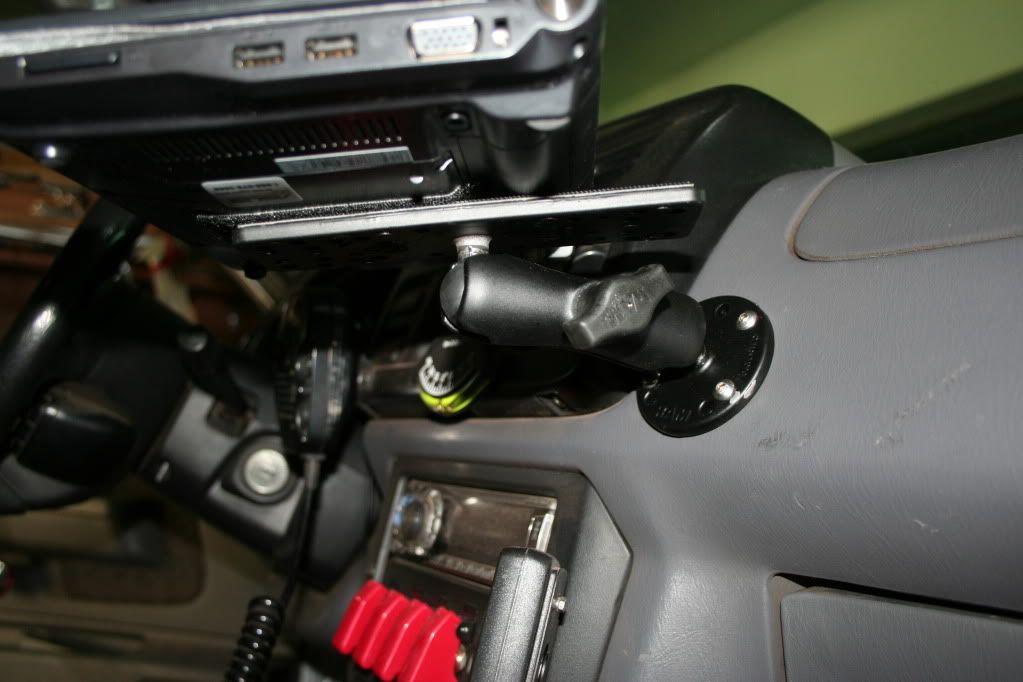
Third GPS: EEE pc by Asus running the above software. This is a much smaller designed “netbook”. Fits perfectly in the cab and still has a bigger screen then any hand help GPS units.
![Image]()
![Image]()
I used a RAM mount to mount it to the dash. So far I love this setup. I may have to add a small plate to help support it, we shall see.
![Image]()
More to come..............................
Casper
:bubblegum-big:
Vehicle = 2000 Nissan Xterra XE
Color = Silver Ice
He was stock when I bought him, plus a WAAG Brush Guard. This is the only photo I have of it then. (Also happens to be the trip that started it all, pushed the stock step-rail into the rear tire thus making me want sliders. That was the end of the beginning)
Interior:
The dash has gone through a few changes over the years but I am happy with the current setup (for now) I have a standard Alpine head unit. This runs to an 800 watt Infinity amplifier running to 2 sets of Polk Audio speakers. Below the stereo is a small switch panel I made. The switches run various light, fans and such. To the right of those is a National Luna dual battery monitor and to the left is my Cobra 75 CB.
Throughout the rest of the cab you can find a Sirius satellite radio, Scangauge II, fire extinguisher and mag-light all within reach.
My first GPS was a Garmin iQue 3600. This unit was nice. It has a bigger color screen and a good size memory to hold lots of trails and maps. ( sorry, no photo of this one) However it is very hard to see in the sun, and although the screen is big for a GPS unit, it was still too small for my eyes.
Second GPS Compact Armada running Garmin GPS 18 with a USB puck antenna. I got this because I wanted a bigger screen to view the maps on. This is mounted on a homemade mount.
This worked pretty well with two major drawbacks. First it takes up WAY too much space. I can’t have a passenger when it is in the cab. Second, while the big screen is nice it sucks in the sun. Thus I can't read it on bright days. I was going to mount it under the passenger seat and find a monitor to mount somewhere but I could not find the right size monitor at a good price. So, thanks to lots of web searching I found the perfect solution.
Third GPS: EEE pc by Asus running the above software. This is a much smaller designed “netbook”. Fits perfectly in the cab and still has a bigger screen then any hand help GPS units.
I used a RAM mount to mount it to the dash. So far I love this setup. I may have to add a small plate to help support it, we shall see.
More to come..............................
Casper
:bubblegum-big:


")