I was looking for a little more sound a maybe a slight bump in power and/or mileage.
I found a place out in CA that bought a lot of NISMO catbacks that were in a warehouse and suffered some water damage. The box did show signs of water but it's a stainless steel exhaust.
here is the link to the people that sold me the catback. $299 delivered
http://myworld.ebay.com/ebaymotors/aaaforeignauto/
List of Tools needed
Grinder (smaller the better)
Cutting Torches and some shield to potect various parts from being torched
Various sockets etc
High Lift highly desirable but optional
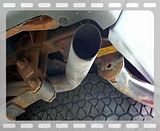
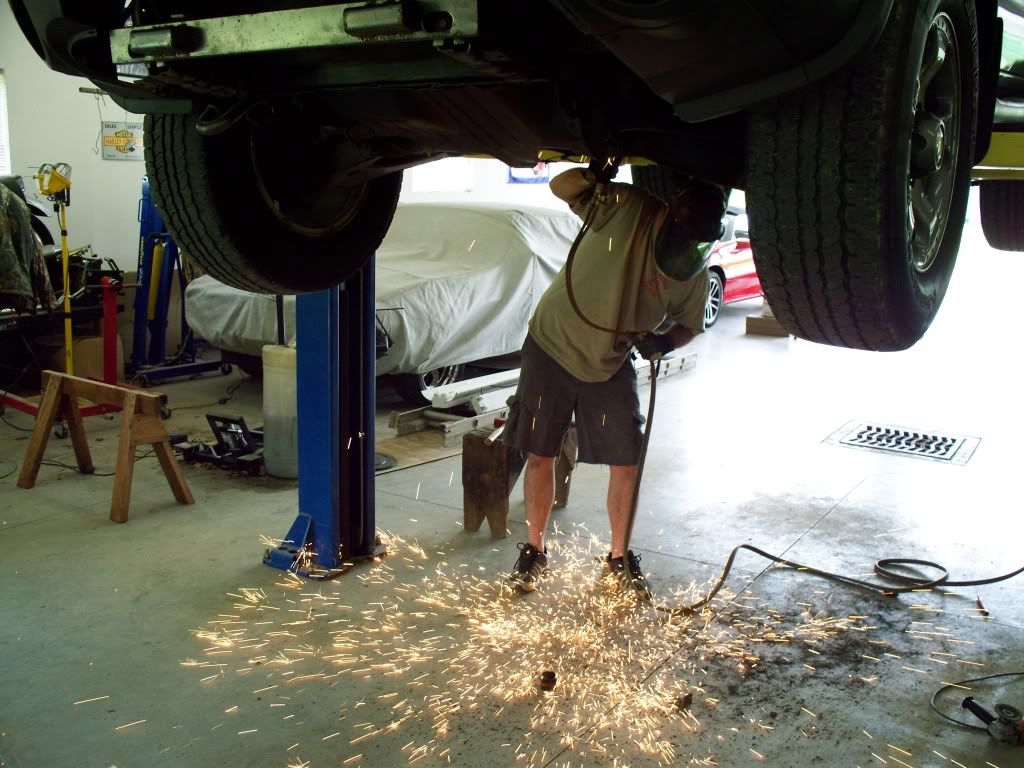
Ok, as you can imagine the removal of the stock exhaust with 100k miles on it in the rustbelt was the tough part. Pb blaster offered very little to this particular project. Cutting torches and a grinder were more appropriate.
![Image]()
![Image]()
![Image]()
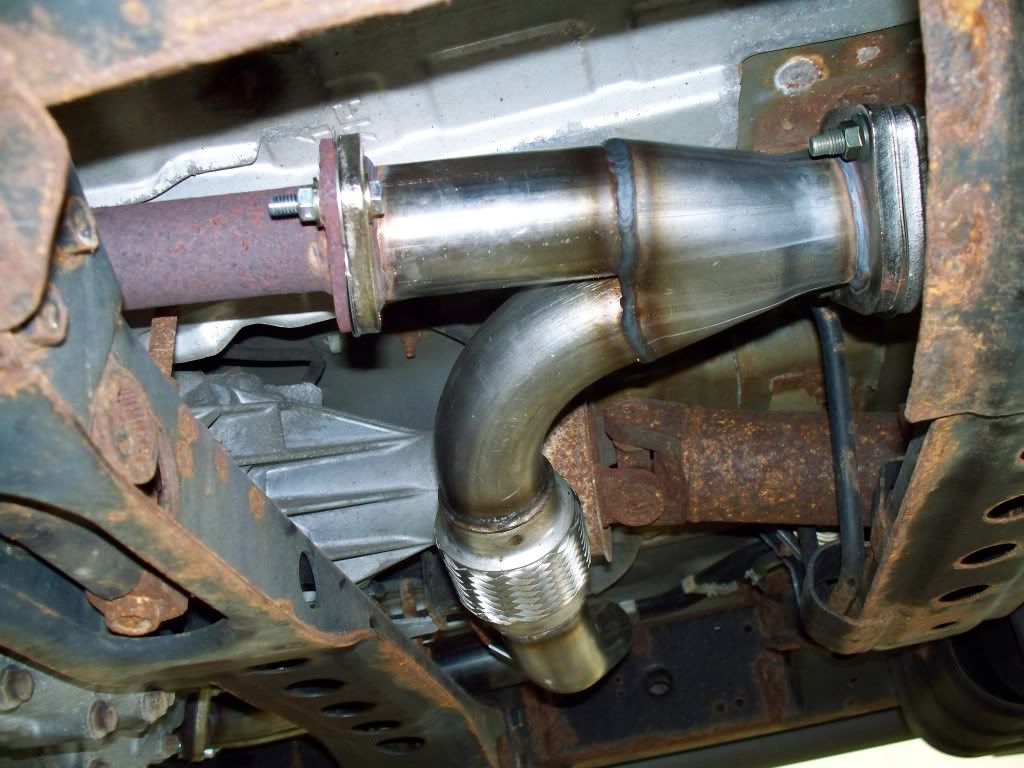
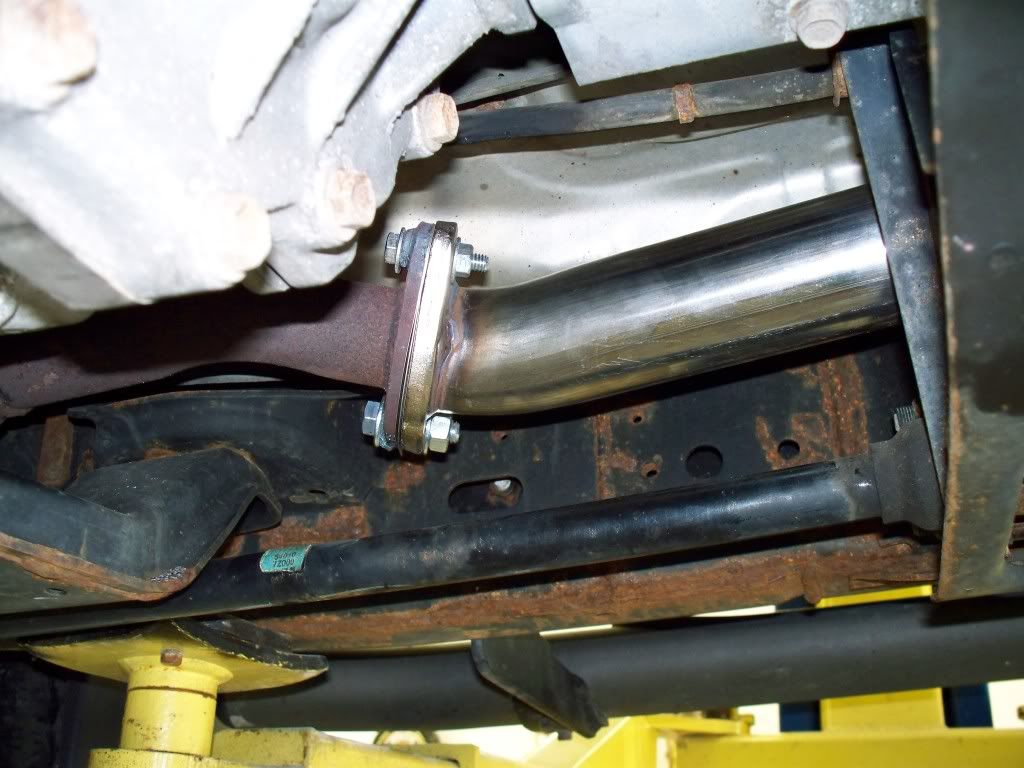
There are three areas that are tough for the removal of the stock exhausts. Both of the flanges directly behind the cats, and the stabilizer (vibration reducing) mount along the drivers side. We used a grinder and cutting torch to remove the all of these as they were basically welded together from years of rust. If you live down in the southwest do not forget how lucky you are to not have to deal with all of this bullshit. Be especially careful not to hit your torsion bar with the grinder, there is precious little room there to operate and some careless grinding could prove quite costly. The same goes for using the cutting torches. Watch out for the tranny line (Ithink that's what it is). it runs over the cat on the passenger side. It can be burned if you aren't careful.
NOTE: The NISMO exhaust hooks up to the passenger cat pretty close but the one on the driver's side hooks up about a foot or so further down stream. Make sure you dismantle the correct portion or you will be super pissed. We didn't make that mistake but if you are one that tends to jump into things without thinking, this might be your waterloo.
![Image]()
![Image]()
![Image]()
![Image]()
![Image]()
As I mentioned before, we used heat on the stabilizer bar, (just upstream from the hangars). Well, we heated up the rubber piece (indirectly) to the point that the adhesive used to adhere it melted and gave way. This was an important lesson to learn so i did not repeat it on the tailpipe hanger. PB Blaster and a wee bit of heat was enough to get it off. For now that mount is not used. I may try to fix that later but the pipe is held so ridgidly I am not sure that it is necessary. I'm not getting excessive vibes from it's absence.
RE: the tail pipe mount....once you start turning the bolt (mine required pb-blaster and butane torching), the rubber mount will want to twist and you will need to secure it to the point that you can put torque on the nut w/o twisting the hangar. I accomplished this by have a friend insert a small prybar in the appropriate location. I don't have a pic but it will be self evident. This is one part where having a third arm helps. A third leg does you no good here and in fact may hinder your progress, especially if you are under the truck with a friend and not using a high lift....but I digress.
Once all the mounts are loosened, you will need to cut the pipe somewhere to get the entire assembly out. This is MUCH easier than trying to disassemble the other components of the exhaust. I was hoping to avoid this in the event I wanted to go back to stock but after screwing with the rest of it, cutting the original y-pipe was deemed best.
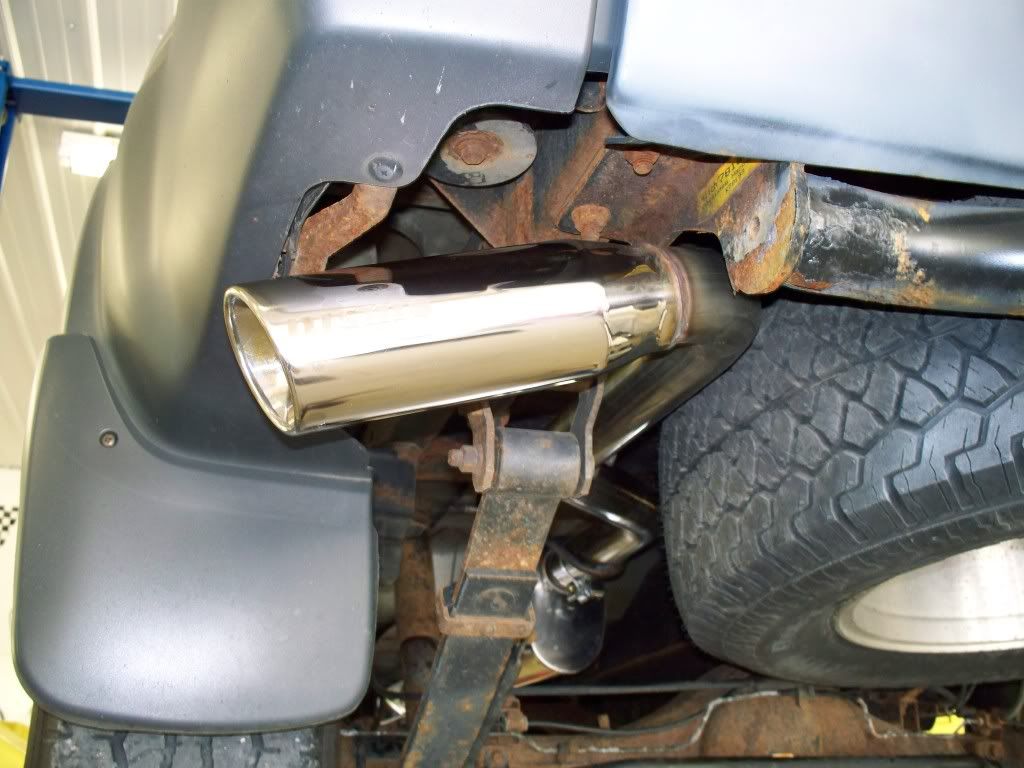
The removal described above 95% of the project. The NISMO required no coaxing to get it to fit. Everything was where it was supposed to be and almost all of the hardware was present. the original bolts that couple the catback just behind the cats were likely pressed in so the eggheads assumed they would still be of use to you. Definited not the case. they were torched out and then holes were srilled to accomodate new nuts and bolts. I used grade 5 bolts to secure them. The rubber hangers were cleaned and i sprayed a little silicone spray on them to make reinstallation easier and it was a breeze.
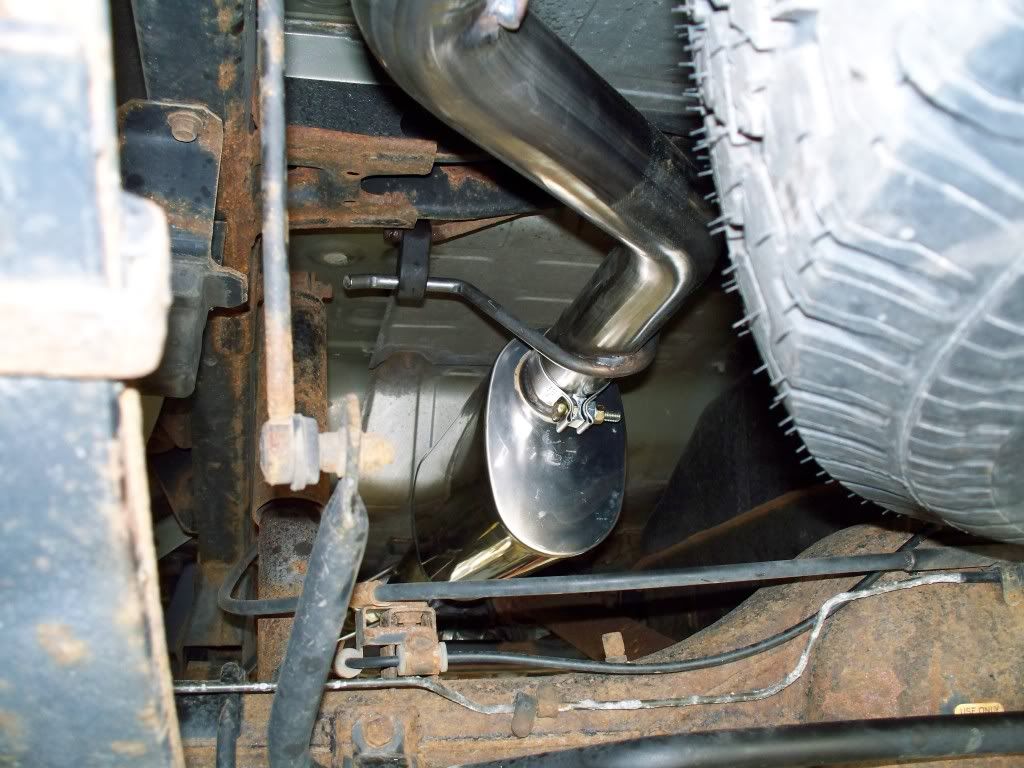
I'm not so sure about the sound and how much I'm a fan of it. It has more of a low hum to it from the car, not as raspy as the video I made. The tailpipe looks real nice and I'll make an update after I get a substantial amount of trips logged to see if my mileage has fluctuated. I'll also try to get a drive by vid to see if the sound is different.
BEFORE
AFTER

I found a place out in CA that bought a lot of NISMO catbacks that were in a warehouse and suffered some water damage. The box did show signs of water but it's a stainless steel exhaust.
here is the link to the people that sold me the catback. $299 delivered
http://myworld.ebay.com/ebaymotors/aaaforeignauto/
List of Tools needed
Grinder (smaller the better)
Cutting Torches and some shield to potect various parts from being torched
Various sockets etc
High Lift highly desirable but optional
Ok, as you can imagine the removal of the stock exhaust with 100k miles on it in the rustbelt was the tough part. Pb blaster offered very little to this particular project. Cutting torches and a grinder were more appropriate.
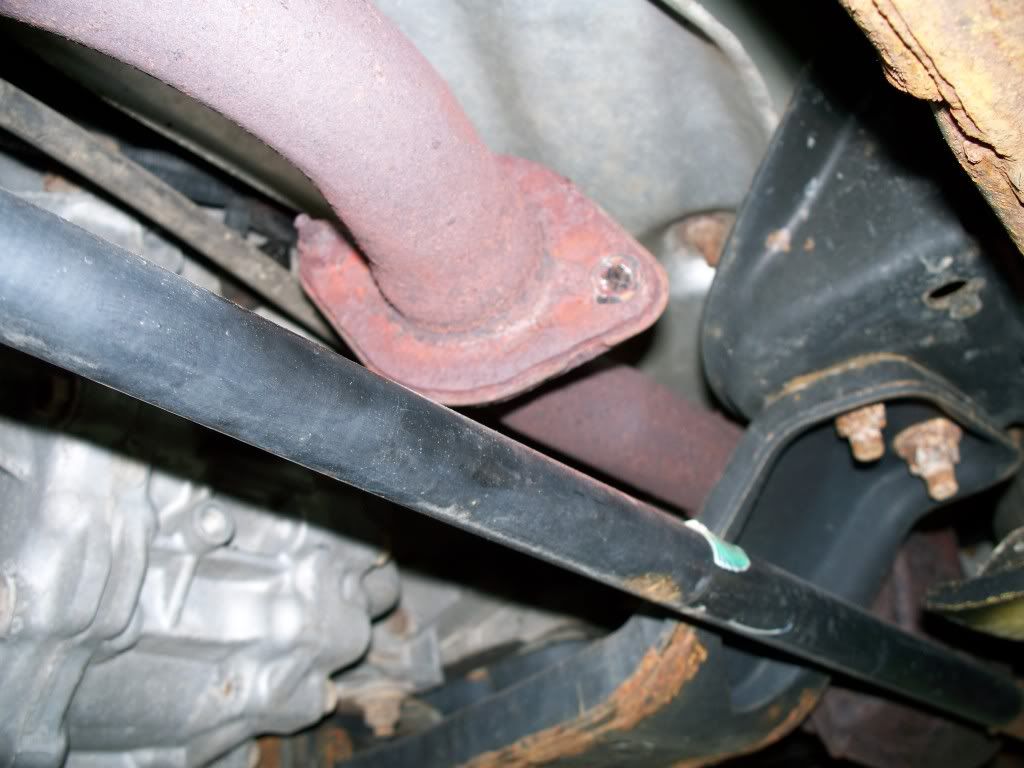
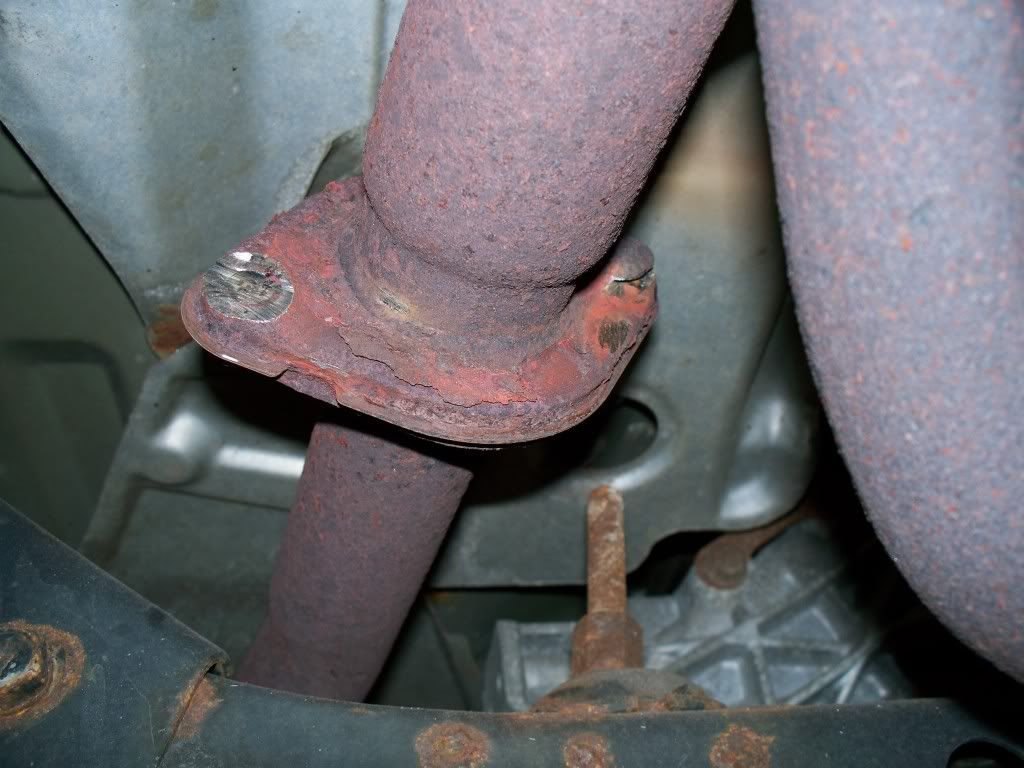
There are three areas that are tough for the removal of the stock exhausts. Both of the flanges directly behind the cats, and the stabilizer (vibration reducing) mount along the drivers side. We used a grinder and cutting torch to remove the all of these as they were basically welded together from years of rust. If you live down in the southwest do not forget how lucky you are to not have to deal with all of this bullshit. Be especially careful not to hit your torsion bar with the grinder, there is precious little room there to operate and some careless grinding could prove quite costly. The same goes for using the cutting torches. Watch out for the tranny line (Ithink that's what it is). it runs over the cat on the passenger side. It can be burned if you aren't careful.
NOTE: The NISMO exhaust hooks up to the passenger cat pretty close but the one on the driver's side hooks up about a foot or so further down stream. Make sure you dismantle the correct portion or you will be super pissed. We didn't make that mistake but if you are one that tends to jump into things without thinking, this might be your waterloo.
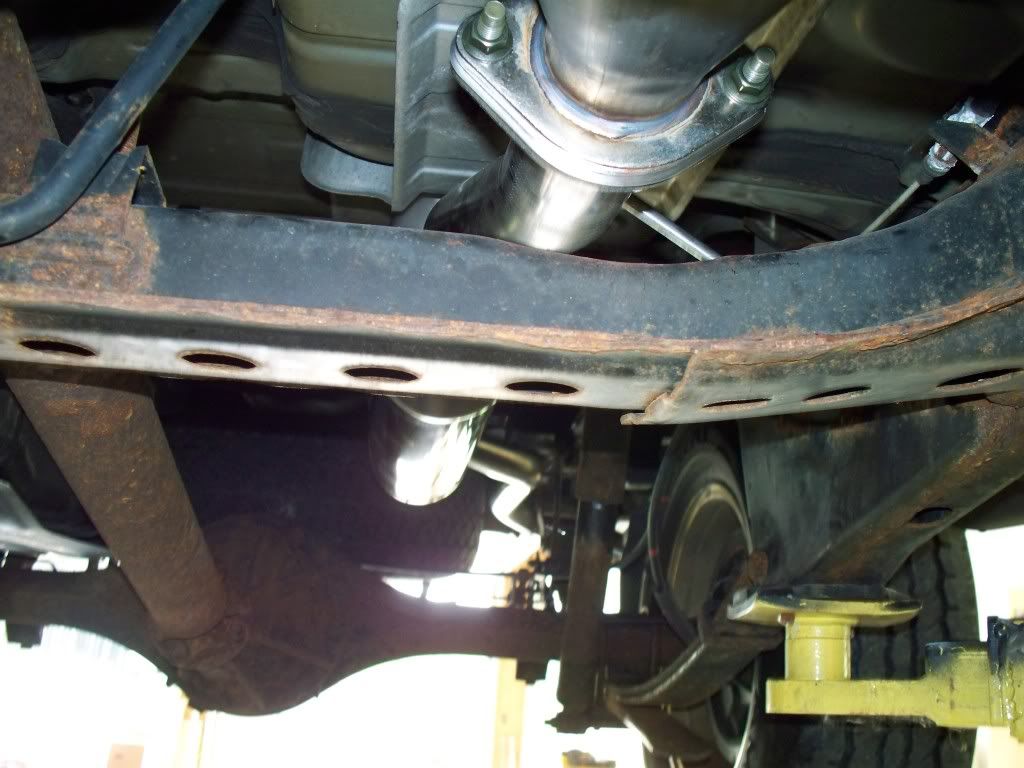
As I mentioned before, we used heat on the stabilizer bar, (just upstream from the hangars). Well, we heated up the rubber piece (indirectly) to the point that the adhesive used to adhere it melted and gave way. This was an important lesson to learn so i did not repeat it on the tailpipe hanger. PB Blaster and a wee bit of heat was enough to get it off. For now that mount is not used. I may try to fix that later but the pipe is held so ridgidly I am not sure that it is necessary. I'm not getting excessive vibes from it's absence.
RE: the tail pipe mount....once you start turning the bolt (mine required pb-blaster and butane torching), the rubber mount will want to twist and you will need to secure it to the point that you can put torque on the nut w/o twisting the hangar. I accomplished this by have a friend insert a small prybar in the appropriate location. I don't have a pic but it will be self evident. This is one part where having a third arm helps. A third leg does you no good here and in fact may hinder your progress, especially if you are under the truck with a friend and not using a high lift....but I digress.
Once all the mounts are loosened, you will need to cut the pipe somewhere to get the entire assembly out. This is MUCH easier than trying to disassemble the other components of the exhaust. I was hoping to avoid this in the event I wanted to go back to stock but after screwing with the rest of it, cutting the original y-pipe was deemed best.
The removal described above 95% of the project. The NISMO required no coaxing to get it to fit. Everything was where it was supposed to be and almost all of the hardware was present. the original bolts that couple the catback just behind the cats were likely pressed in so the eggheads assumed they would still be of use to you. Definited not the case. they were torched out and then holes were srilled to accomodate new nuts and bolts. I used grade 5 bolts to secure them. The rubber hangers were cleaned and i sprayed a little silicone spray on them to make reinstallation easier and it was a breeze.
I'm not so sure about the sound and how much I'm a fan of it. It has more of a low hum to it from the car, not as raspy as the video I made. The tailpipe looks real nice and I'll make an update after I get a substantial amount of trips logged to see if my mileage has fluctuated. I'll also try to get a drive by vid to see if the sound is different.
BEFORE
AFTER